Saskatoon and area 306.341.8257 306.230.7836 Request an estimate
Hampton Construction & Interior Design Ltd. Hampton Construction & Interior Design Saskatoon, Saskatchewan

Home / Our work

Our work

Drywall, taping, texture matching, repairs and commercial fit-outs from around Saskatoon. Every photograph on this page is our own work.

Before and after

Drag the handle across the image to see the change.
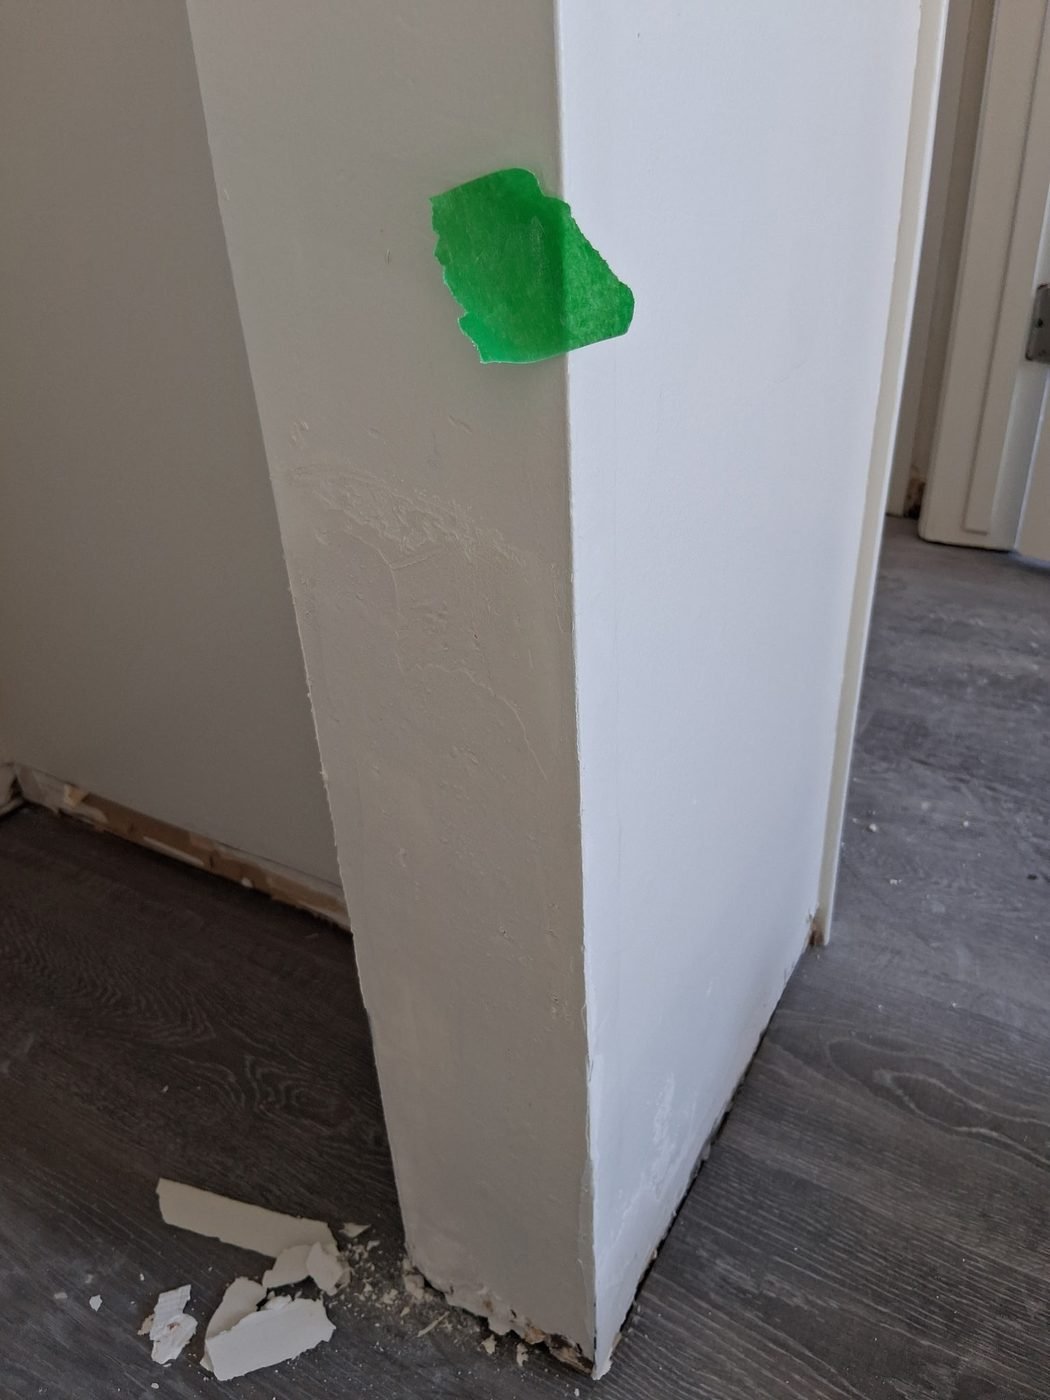
The same corner rebuilt, filled and floated straight
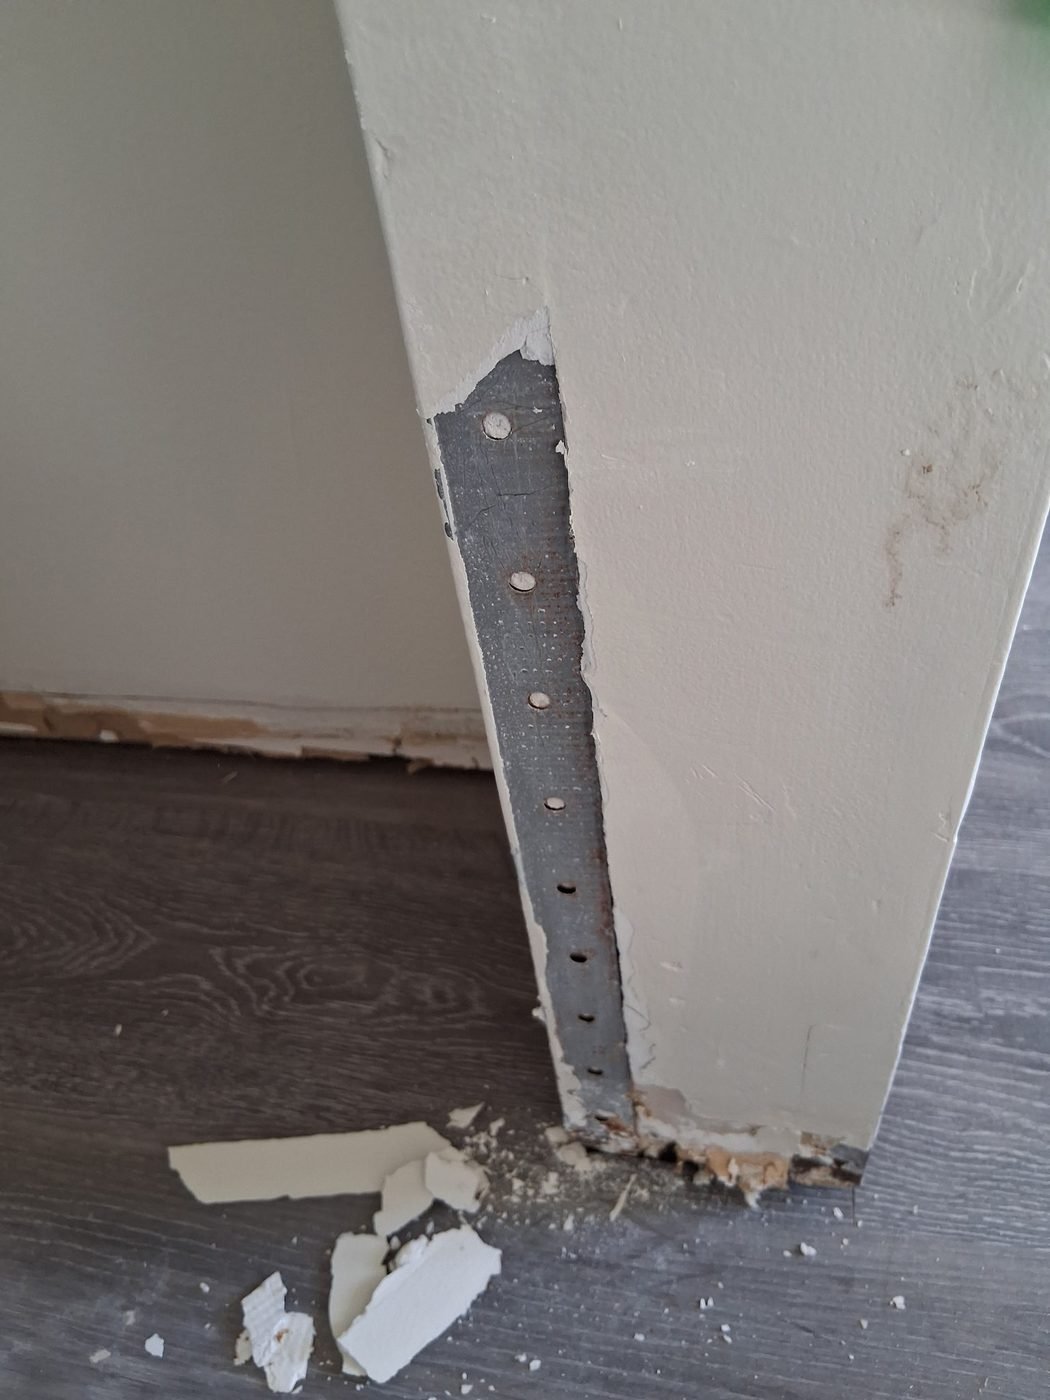
Damaged outside wall corner with the metal corner bead exposed and rusting
Before After
Damaged outside corner rebuilt Damaged bead cut out, new bead set, then filled and floated straight, ready for paint.

Why corners fail first

Outside corners take every knock in a building: furniture, vacuum cleaners, people carrying boxes through a doorway. Once the bead is dented the paint cracks, moisture reaches the metal, and it rusts from behind the finish.

Filling over the top of a damaged bead is a repair that lasts a season. The bead has to come out and a new one go in. That is the difference between the two halves of this photograph.

More on our repair work

Repair sequences

Stages of the same work, photographed as the job progressed.
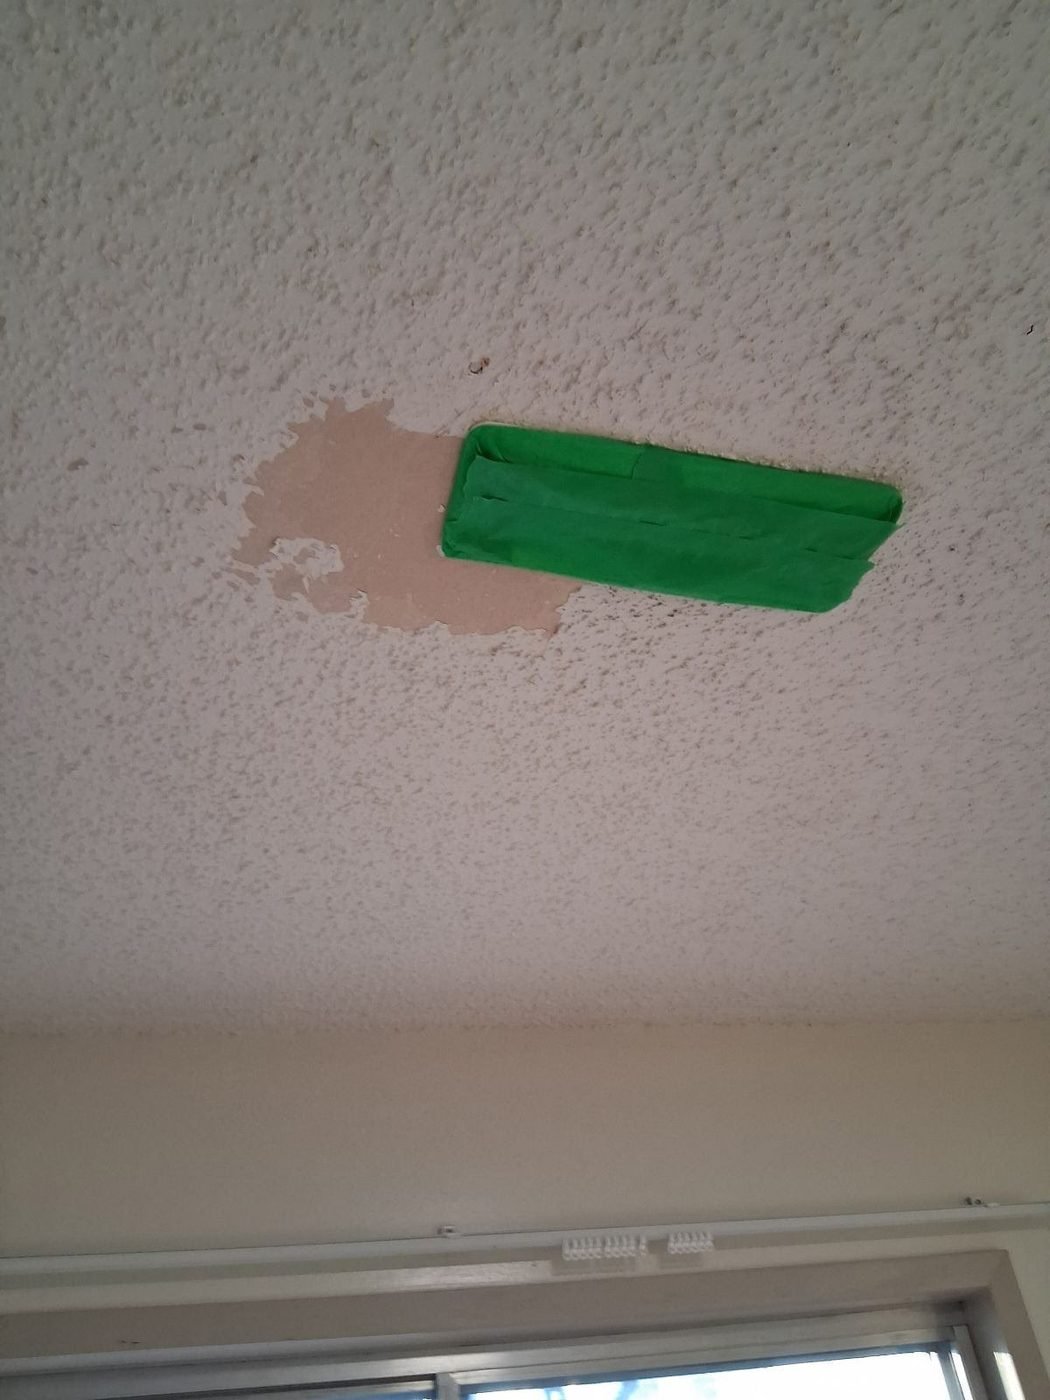
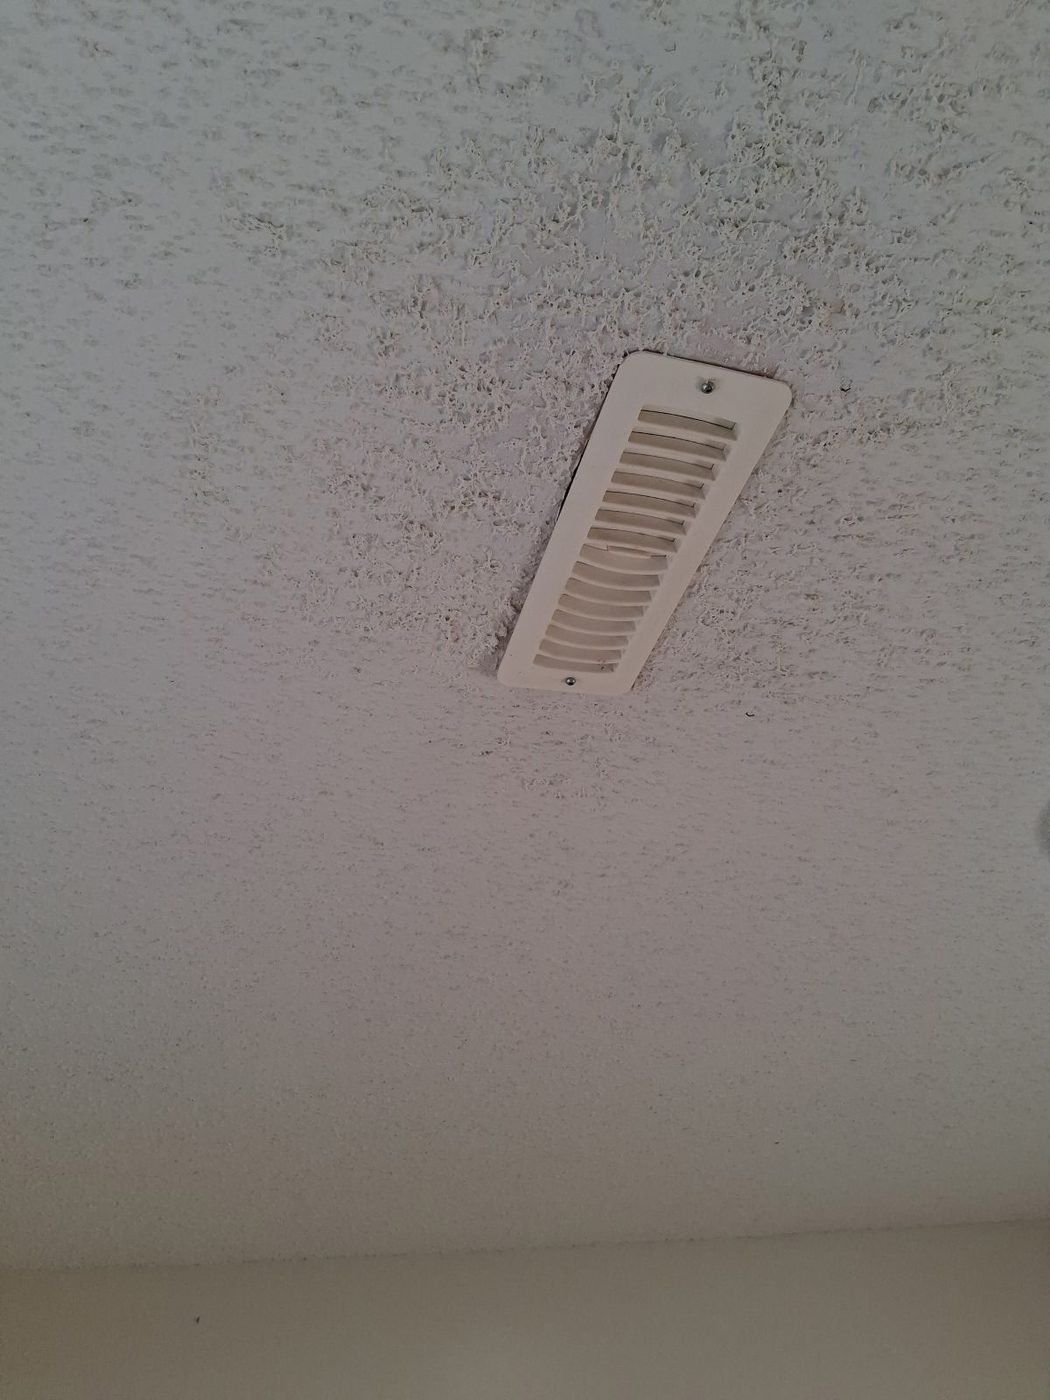
Textured ceiling scraped back around a repair and masked off Before
Textured ceiling with the repair re-textured and matched in After
Ceiling texture matched Stipple scraped back around the damage, the repair made good, then re-textured and blended so the patch reads as part of the original ceiling.
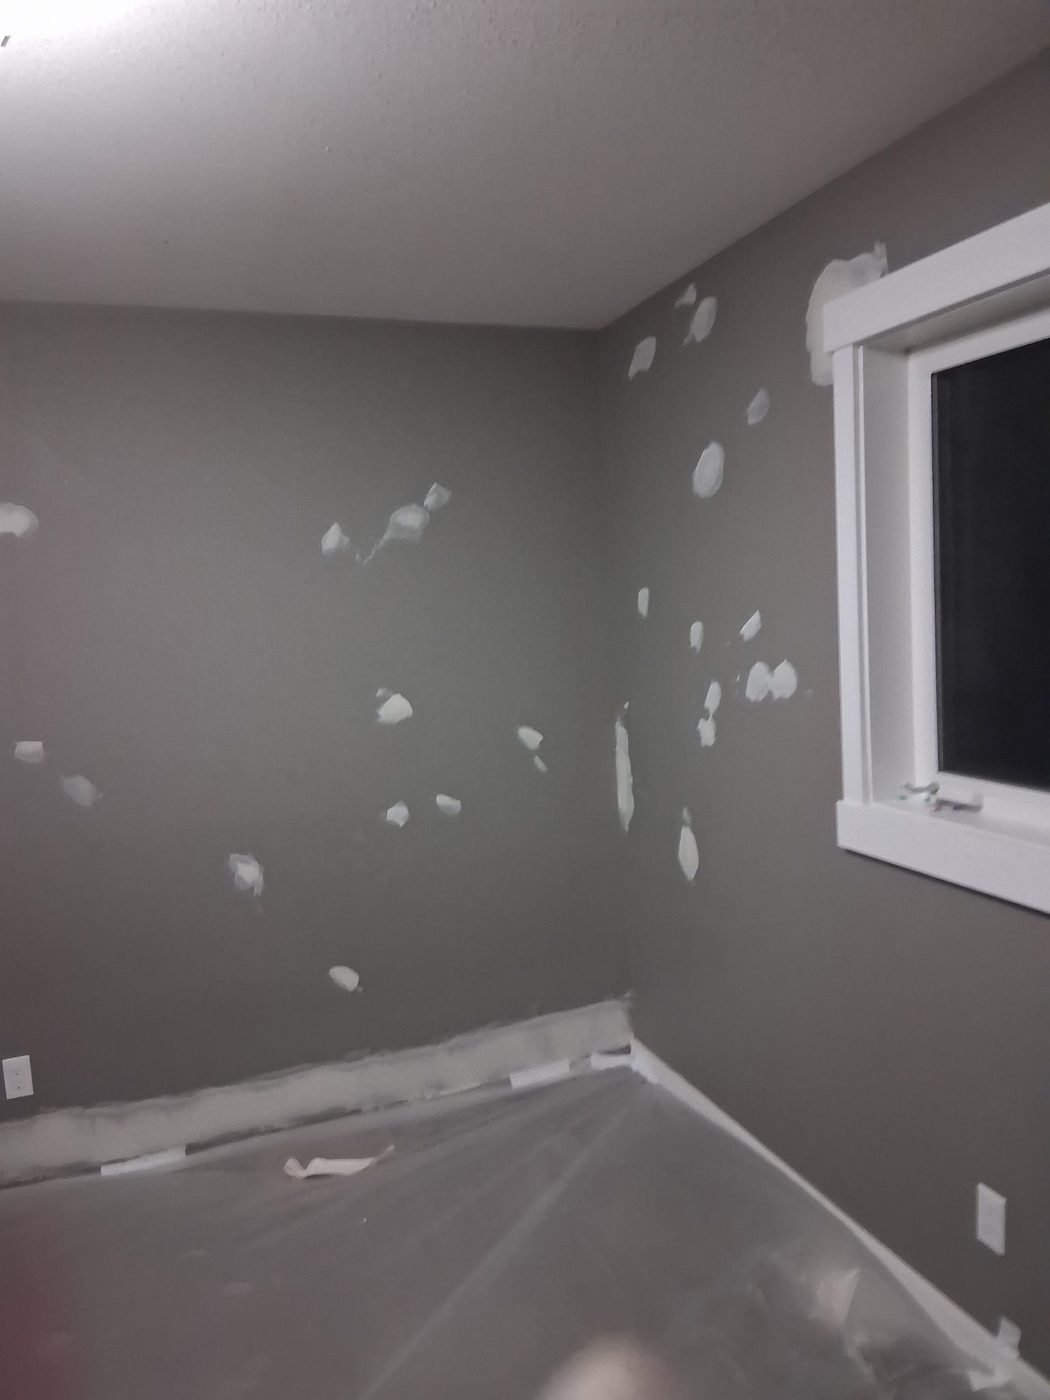
Bedroom wall covered in white filler patches before sanding Filled
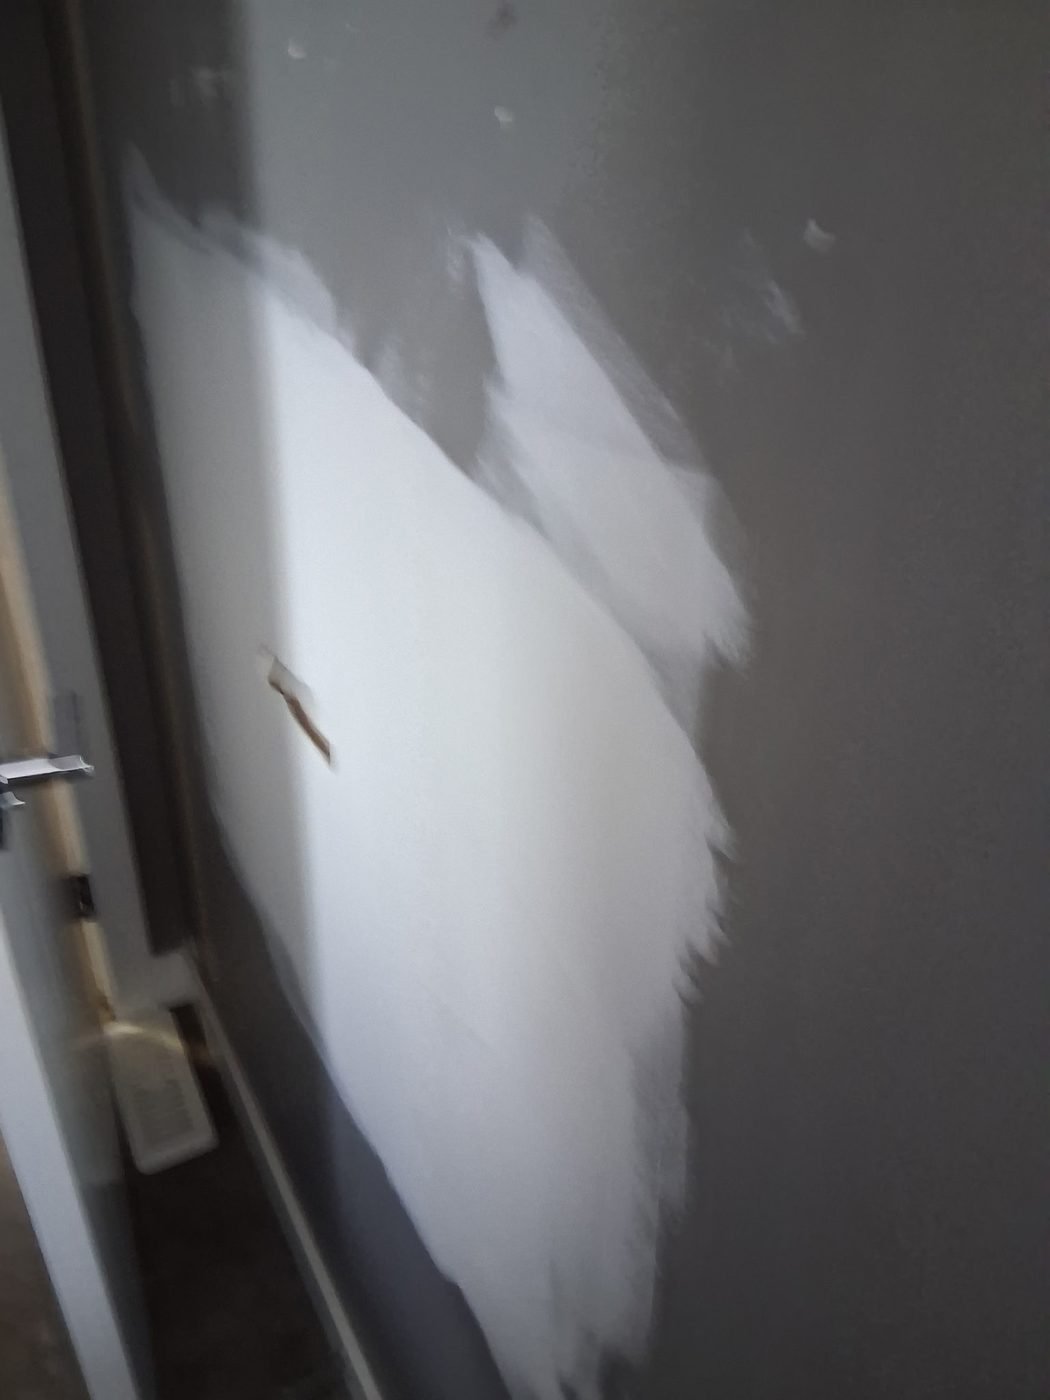
Skim coat of compound floated over a wall repair Skimmed
Filling before paint Every fixing hole and mark filled, then skimmed and sanded flat. Skipping this stage is why a fresh coat of paint can still look tired.
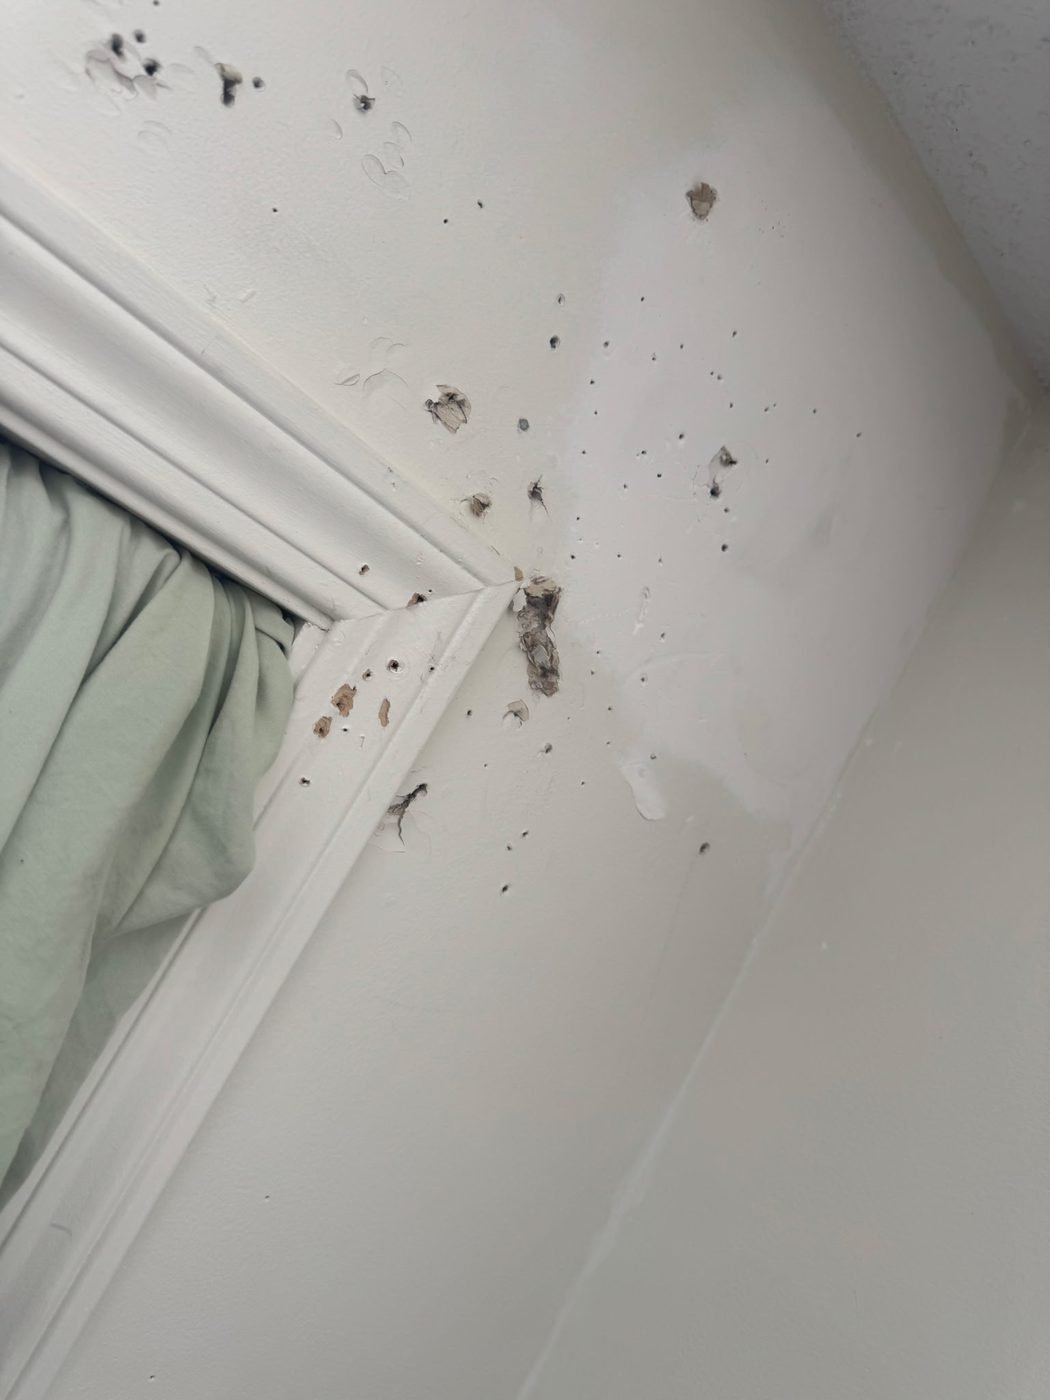
Wall beside a window with many old nail and screw holes Before
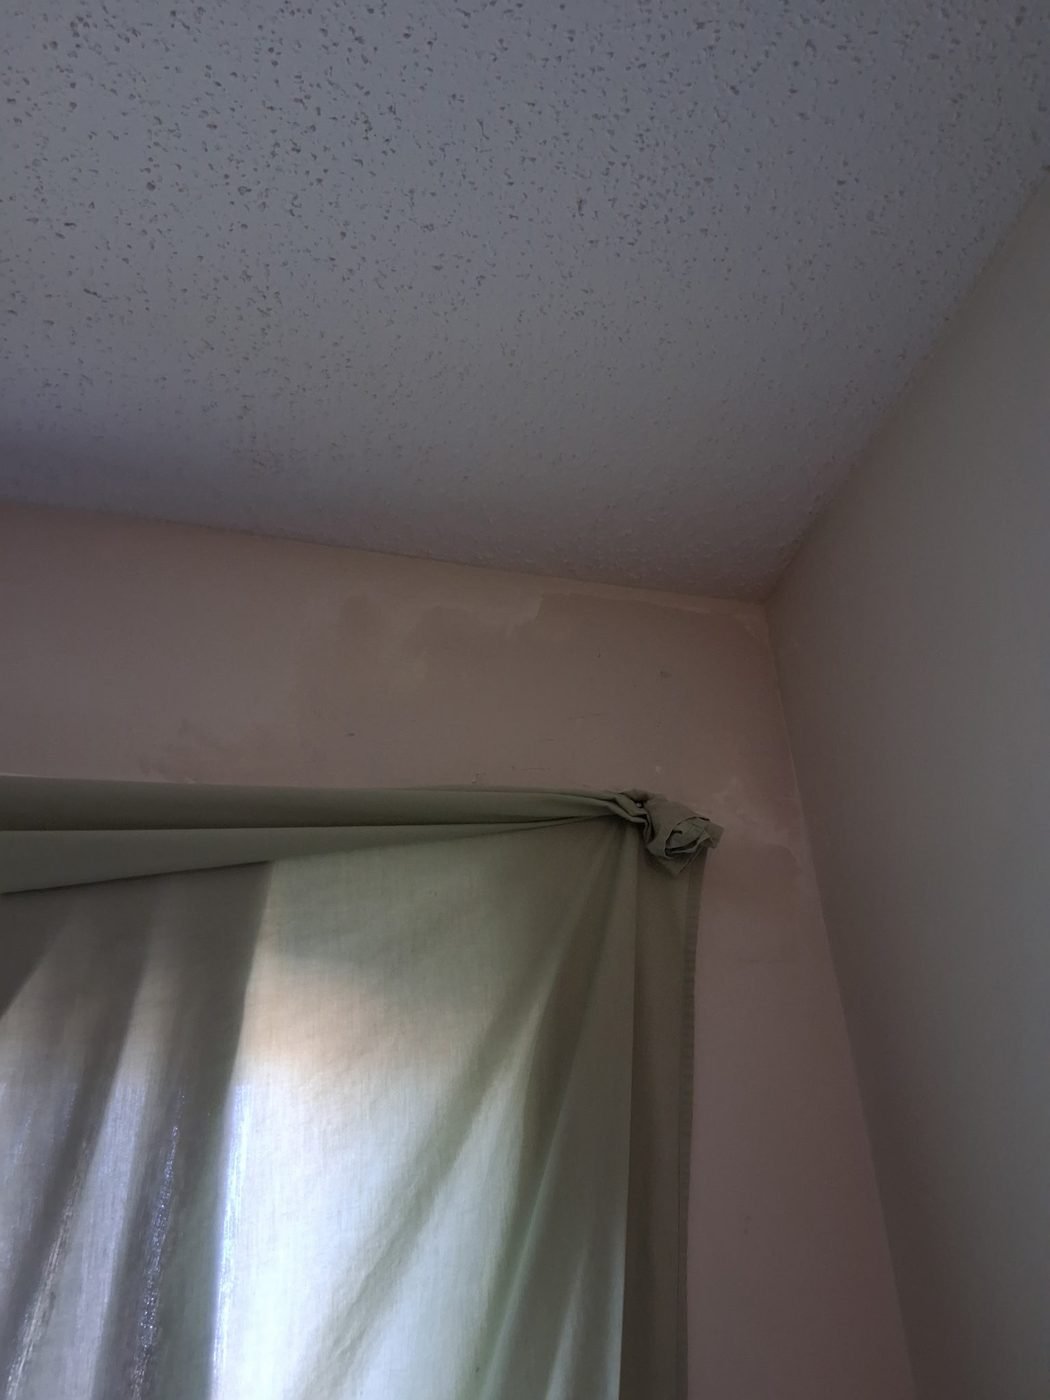
Clean finished wall corner beside a curtain After
Making good after fixtures come down Old fixing holes and marks filled, sanded and touched in so the wall reads flat again.

Drywall, taping and finishing

New-build and renovation drywall taken from board through to a sanded, paint-ready surface: flat joints, butt joints, inside and outside corners, and ceilings.
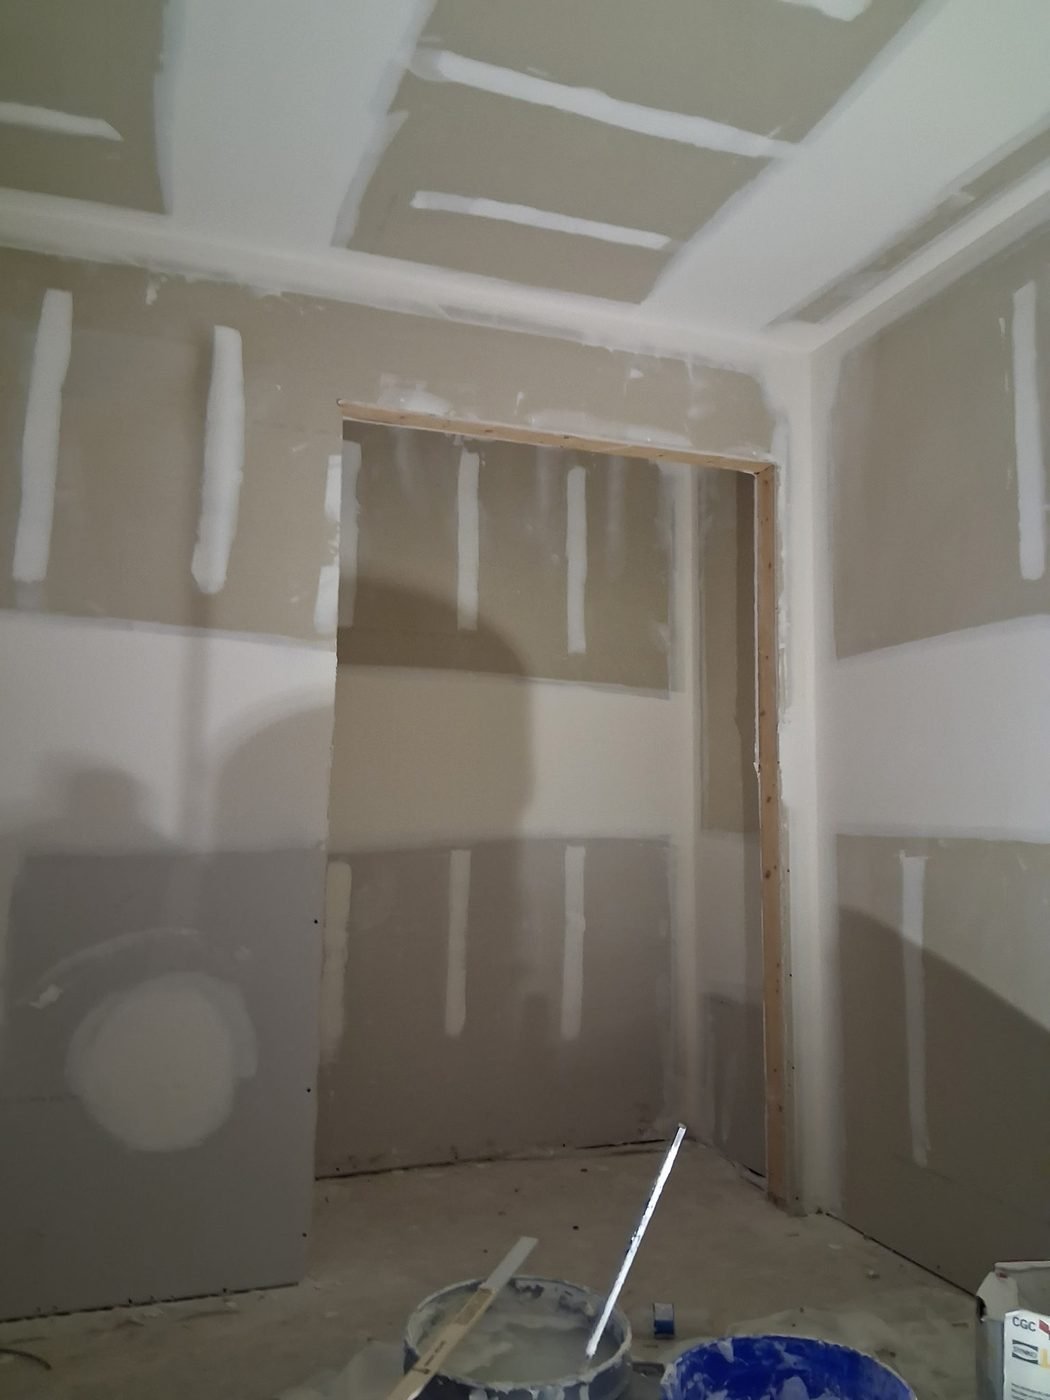
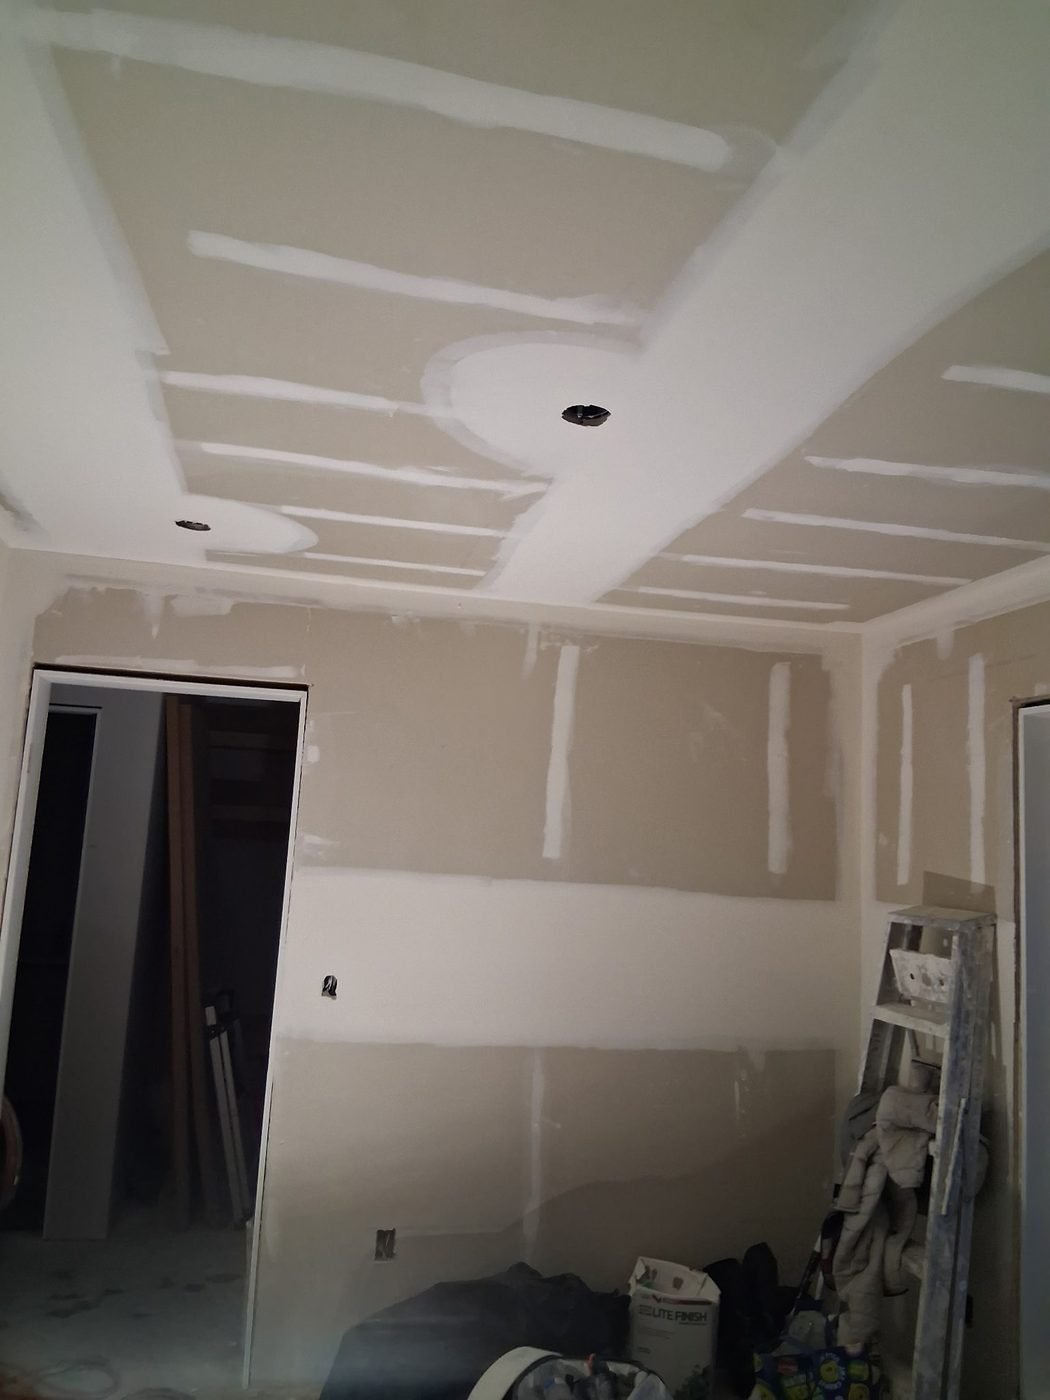
Bedroom walls and ceiling taped and sanded to a paint-ready finish
Taped and sanded, ready for paint Joints and corners filled and feathered out, with the door opening framed and beaded.
Taped ceiling with pot light openings and finished wall joints
Ceiling and wall joints Pot light openings cut and ceiling joints run out wide so they disappear under paint.
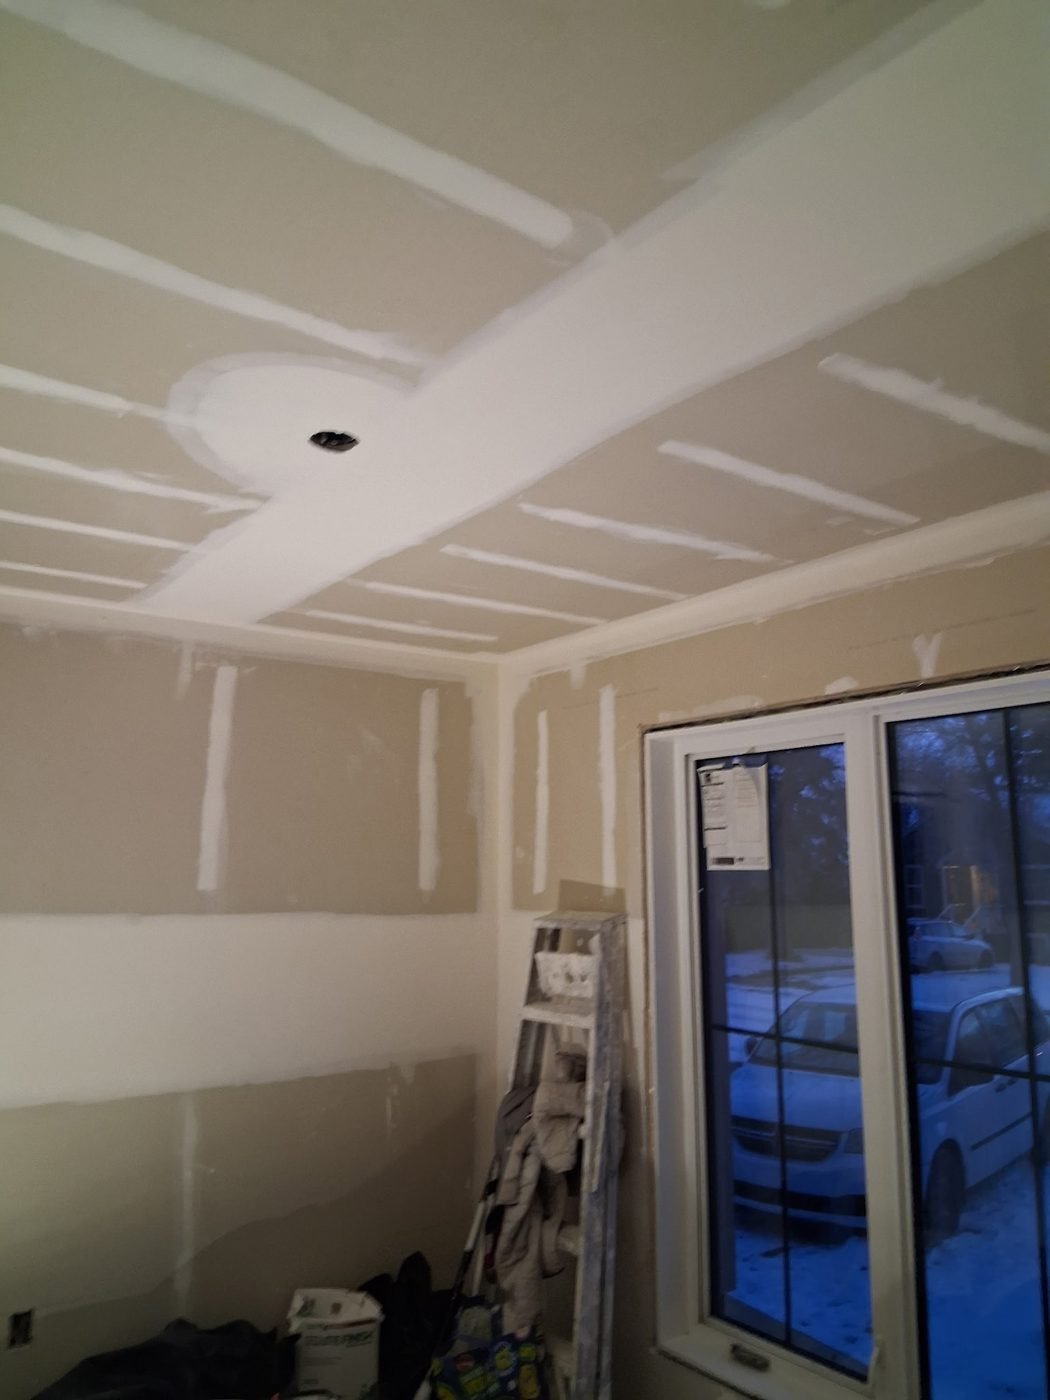
Taped room beside a patio door with snow visible outside
Winter interior work Interior taping carries on through the Saskatoon winter while exterior work waits for the season.
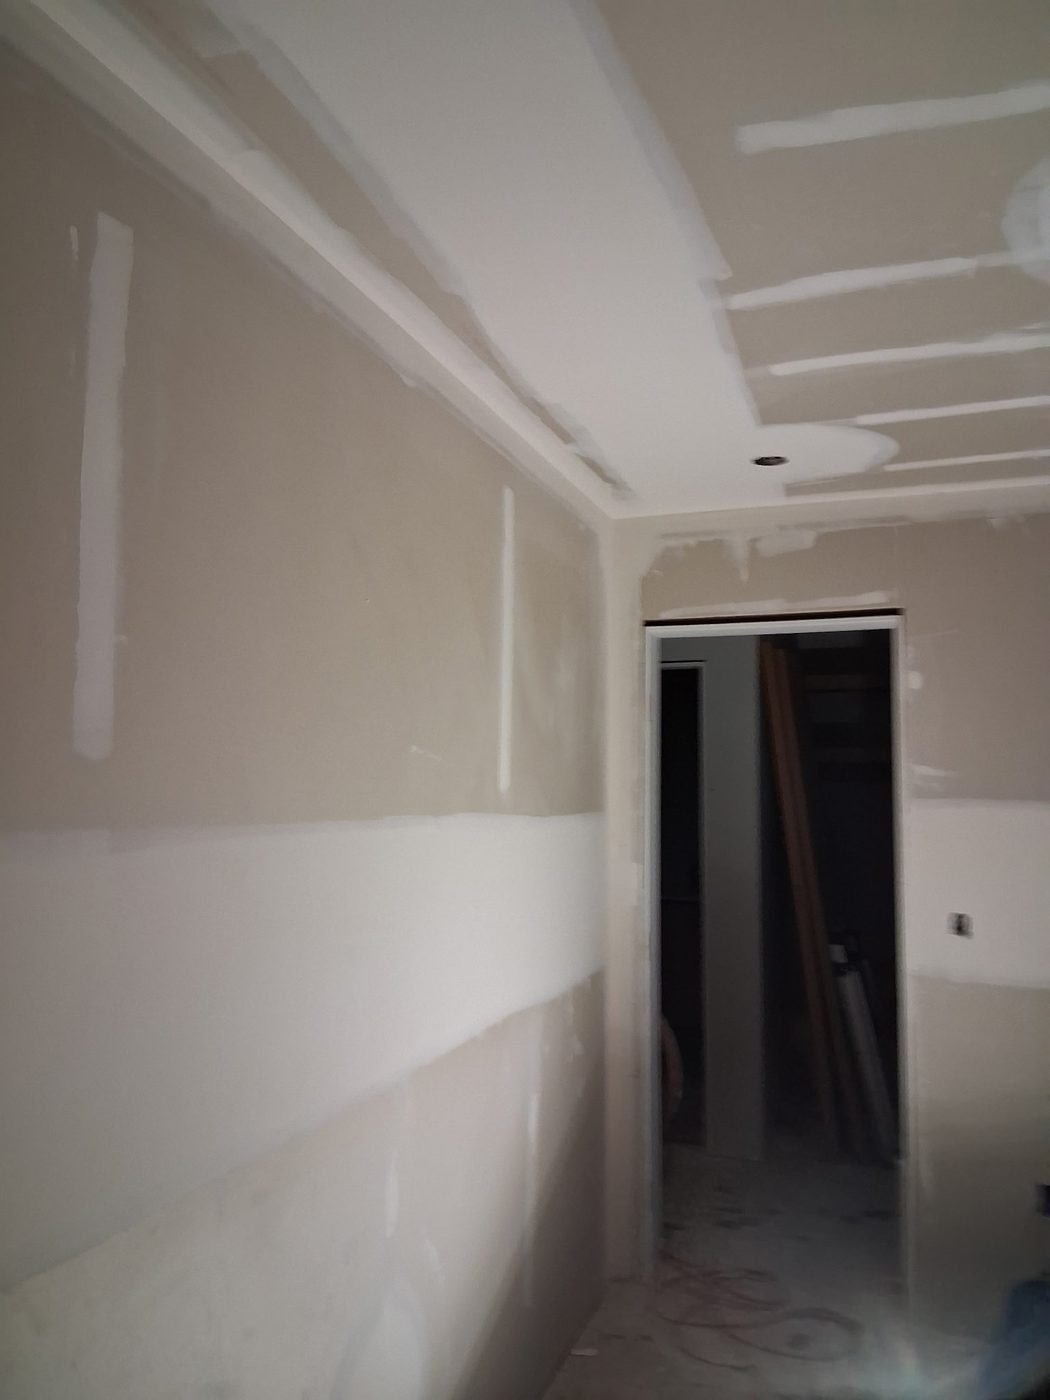
Finished hallway drywall with a cased opening
Hallway and openings Long hallway runs are where poor taping shows most. These are finished flat under raking light.
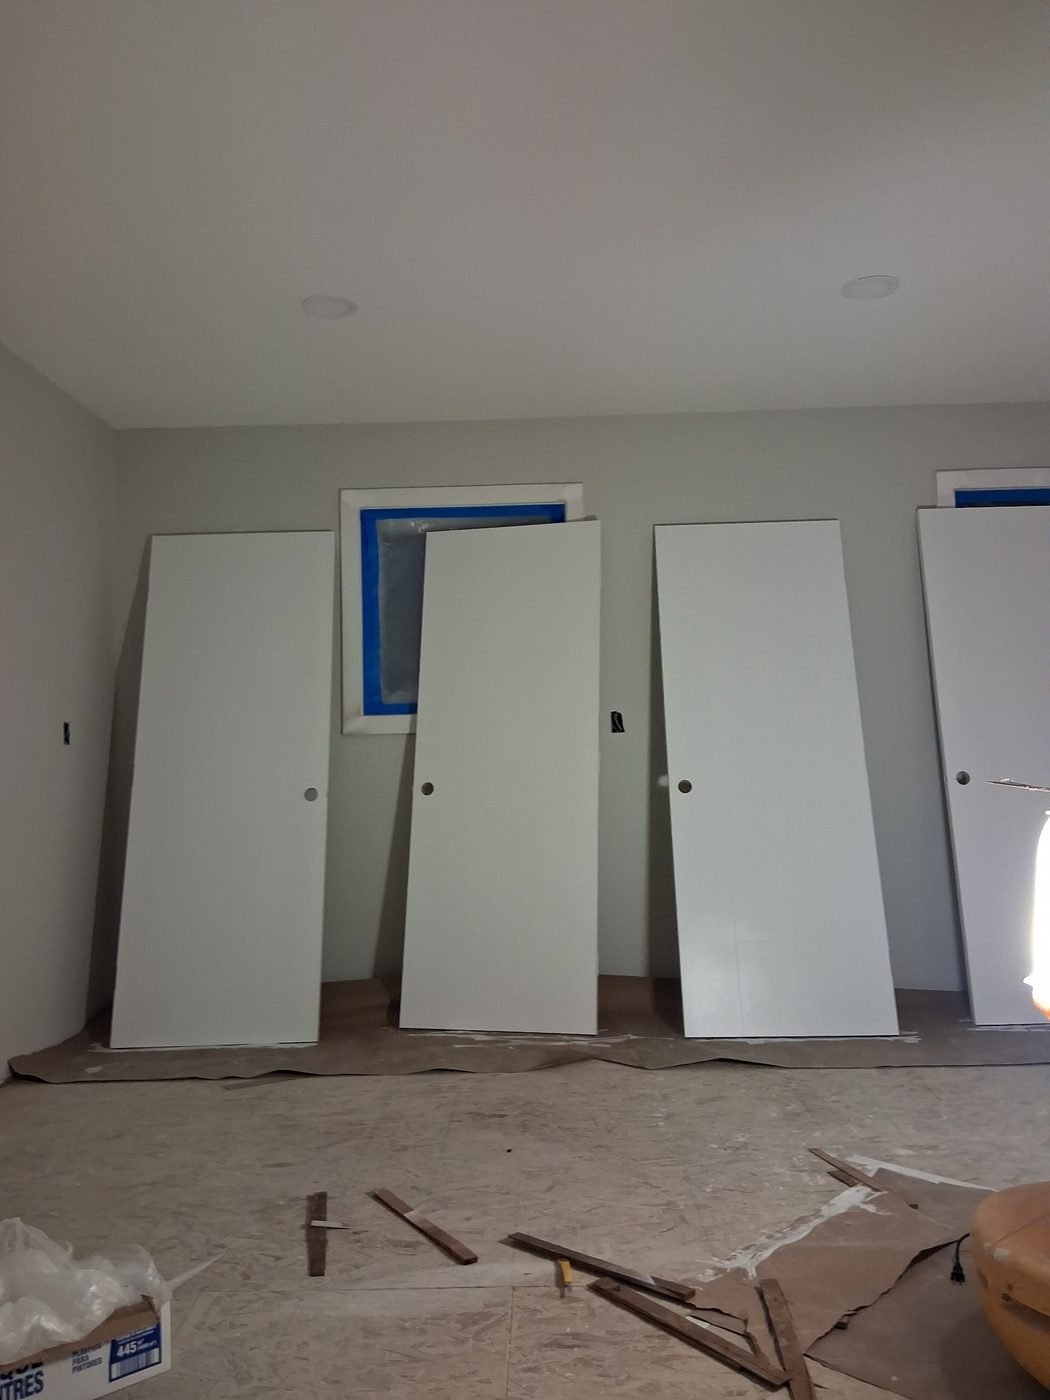
Primed room with interior doors leaning against the wall ready for installation
Primed and ready for doors Walls primed, doors on site and ready to hang.
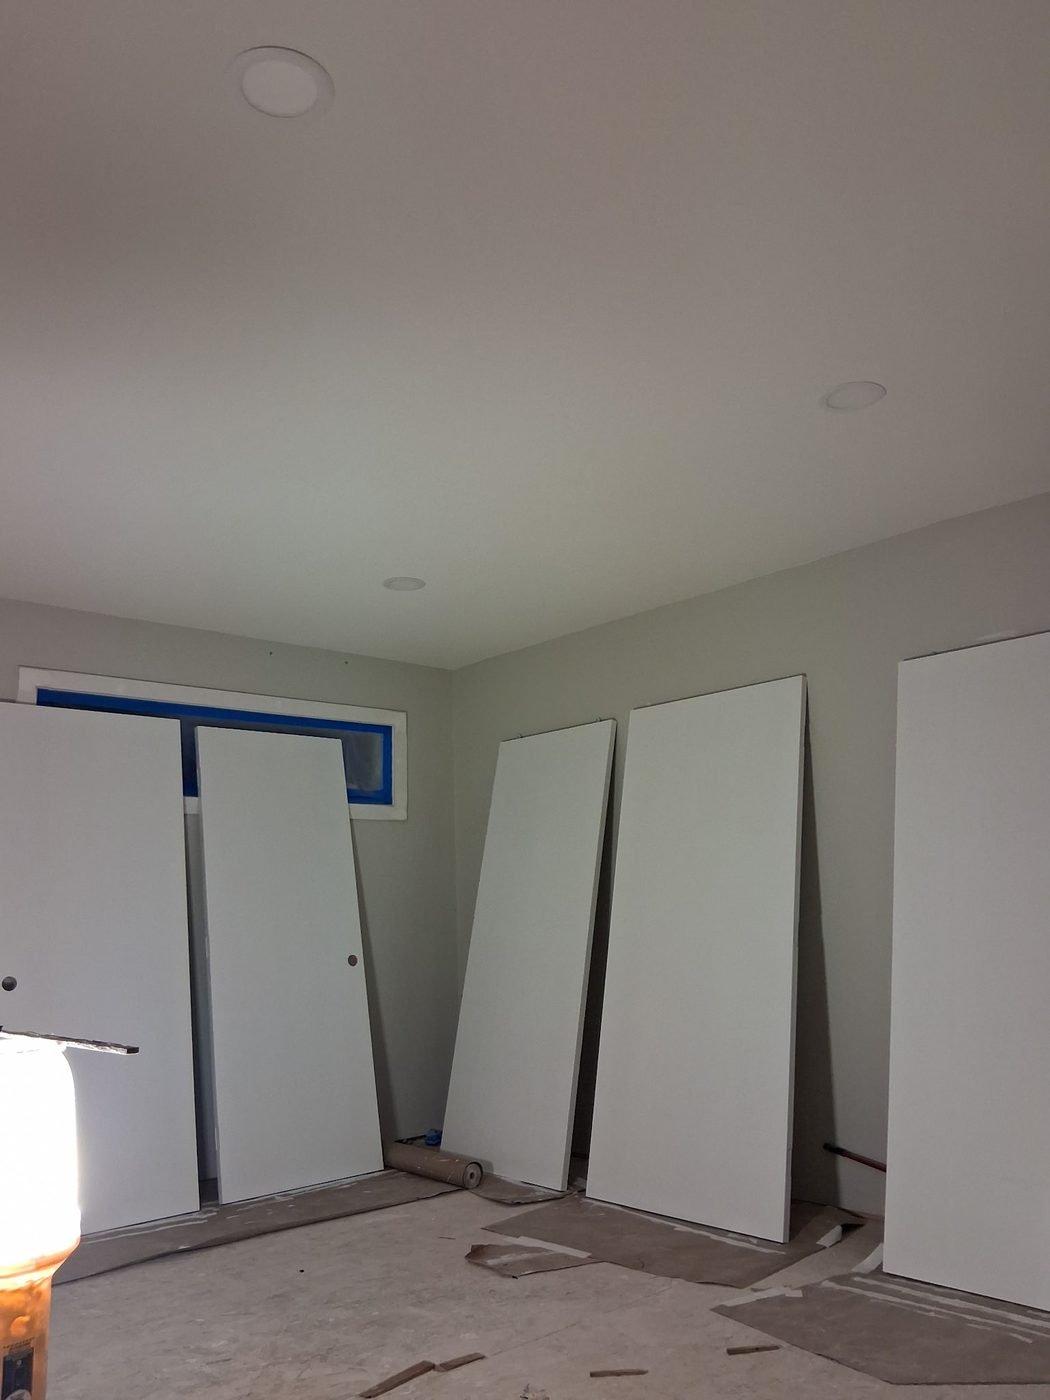
Primed bedroom with pot lights and a masked window
Primed bedroom Pot lights in, window masked, surfaces primed ahead of finish coats.

Repairs and patching

The work most people actually call about. A repair has succeeded when you cannot find it afterwards, which means the patch has to sit flat and match the surrounding surface.
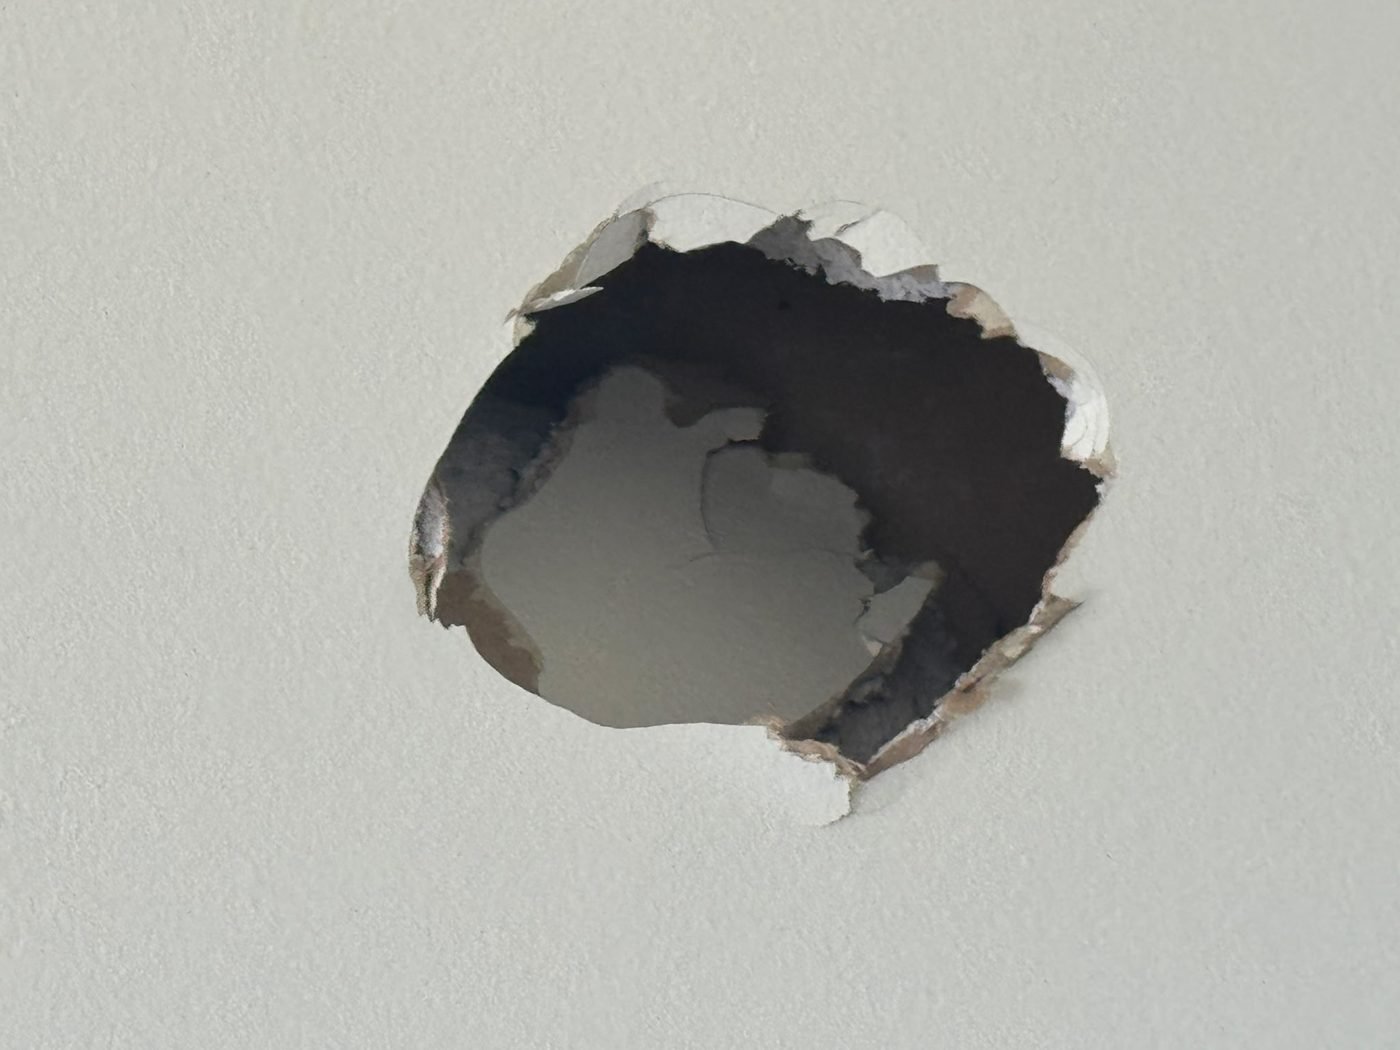
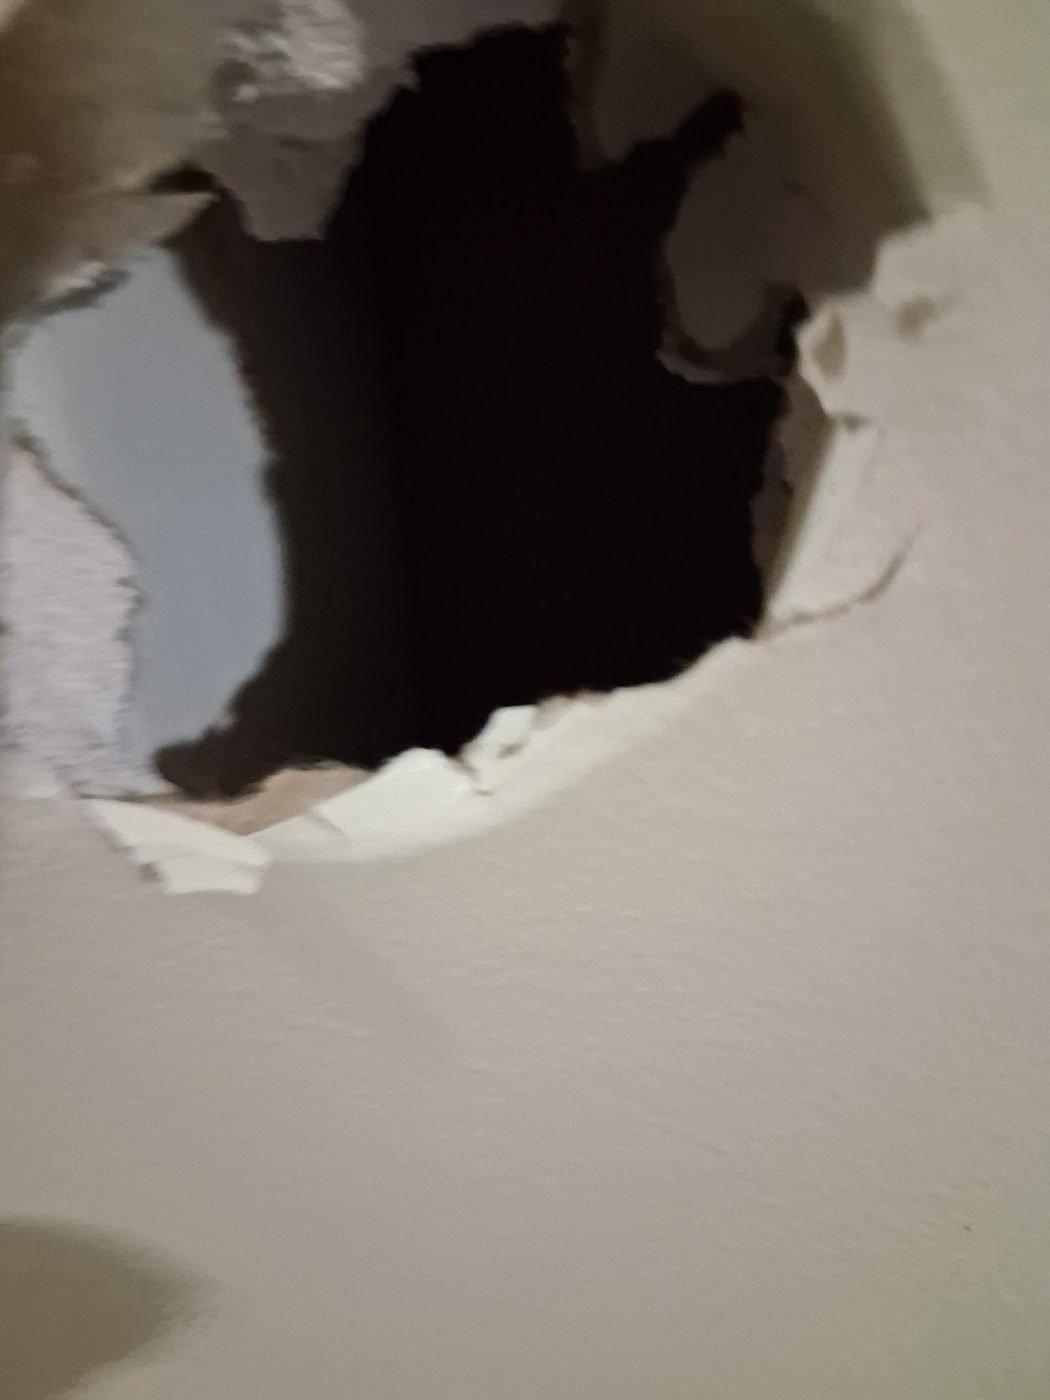
A hole punched through a textured drywall wall
Impact damage in a textured wall Broken board cut back to sound material before patching and re-texturing.
A hole in a wall opening through to the stud cavity
Hole through to the cavity Damage right through the board, opened up ready for a backed patch.
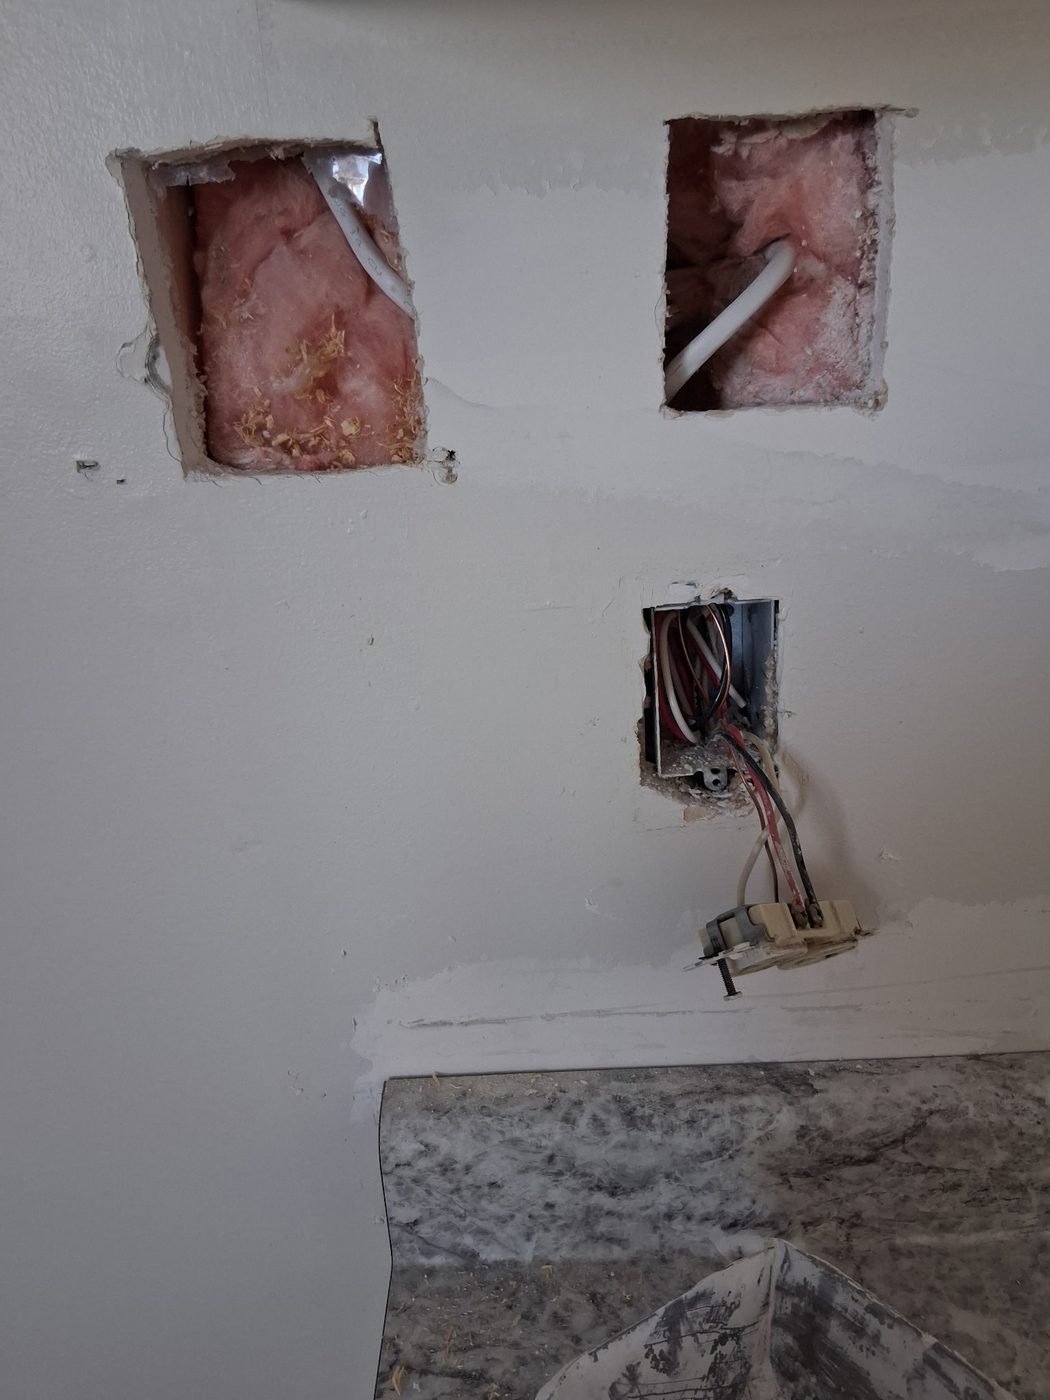
Two rectangular access cuts in a wall showing insulation and electrical wiring
Access cuts made good Sections opened for wiring, then closed, taped and blended back into the wall.
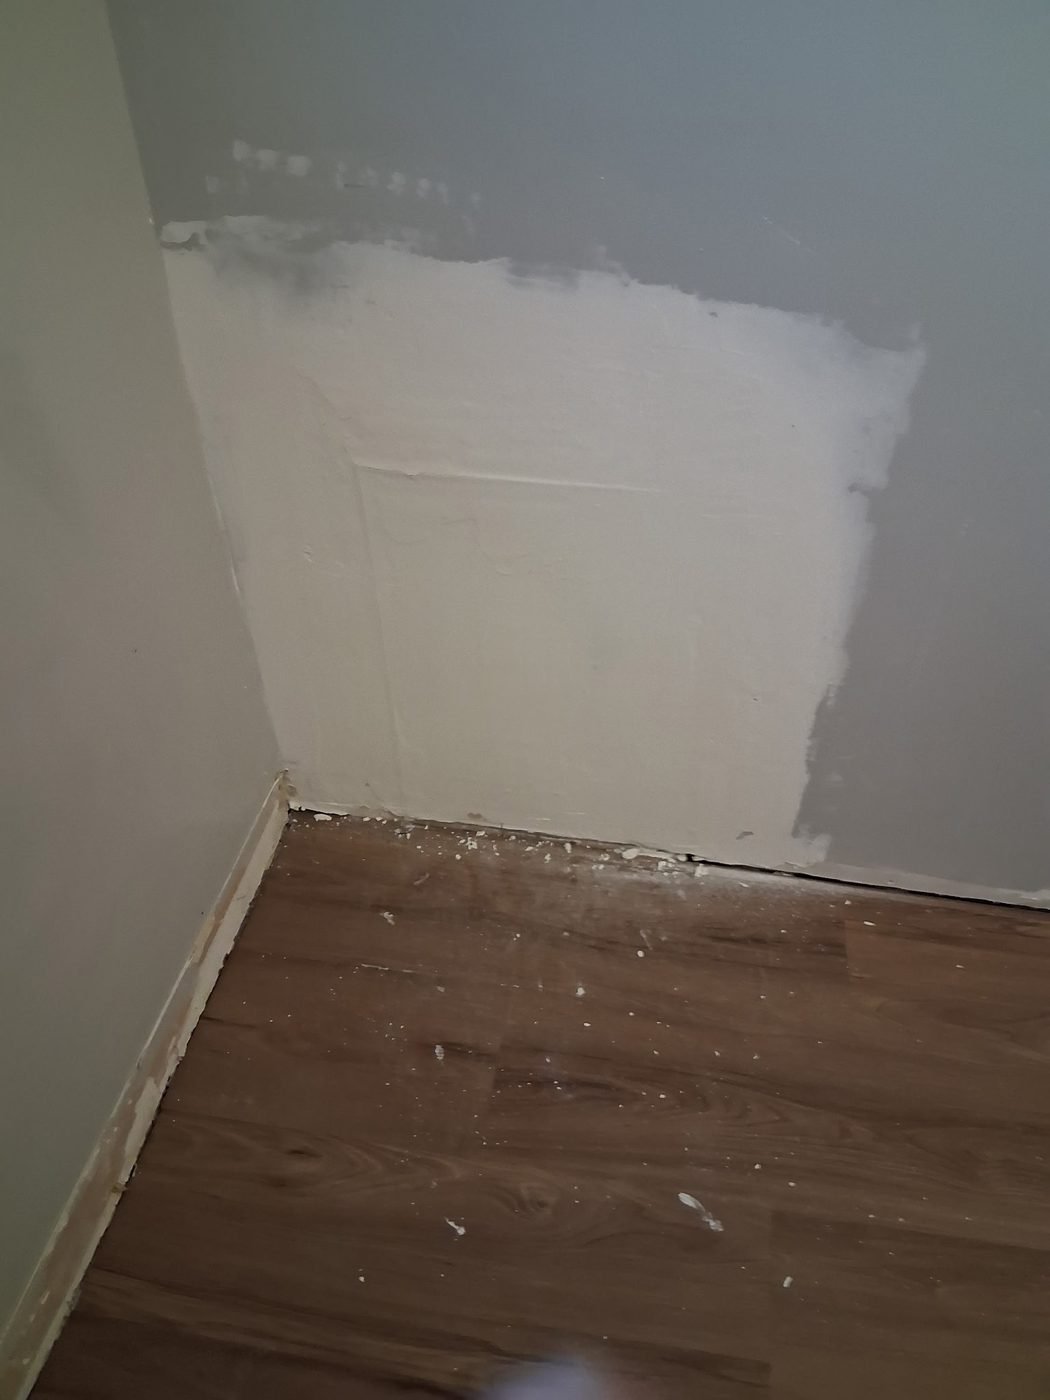
A large replaced and taped section of drywall in the corner of a room
Replaced wall section Cut-and-replace where damage was too extensive to fill, taped out and feathered.
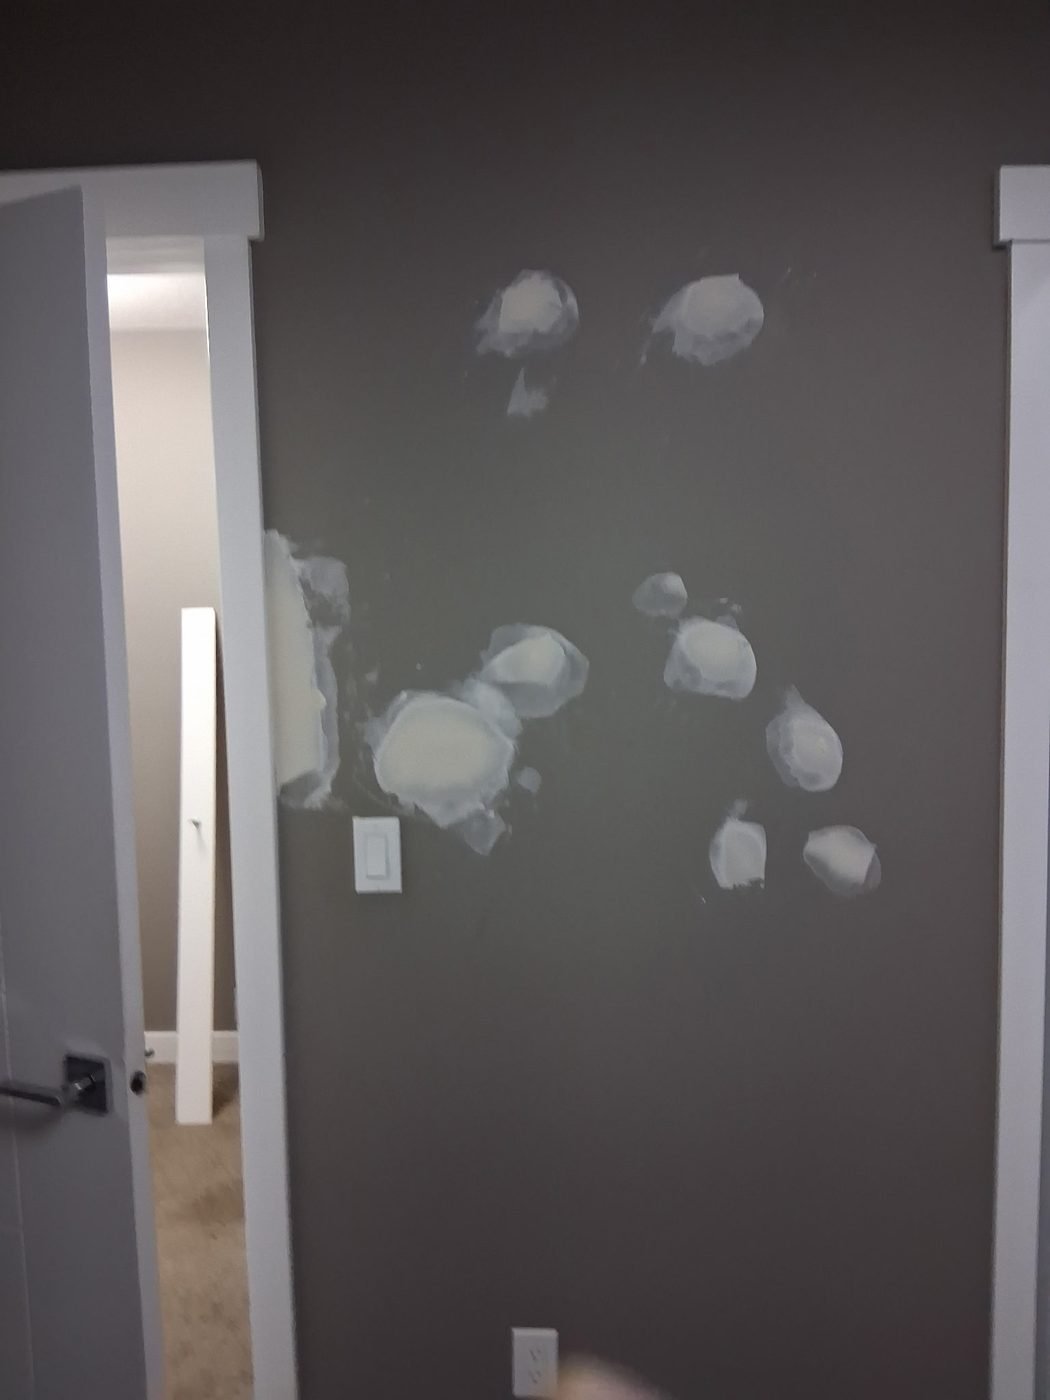
A hallway wall covered in filler patches ready for sanding
Filled and ready to sand Every mark and fixing hole filled before sanding and touching in.
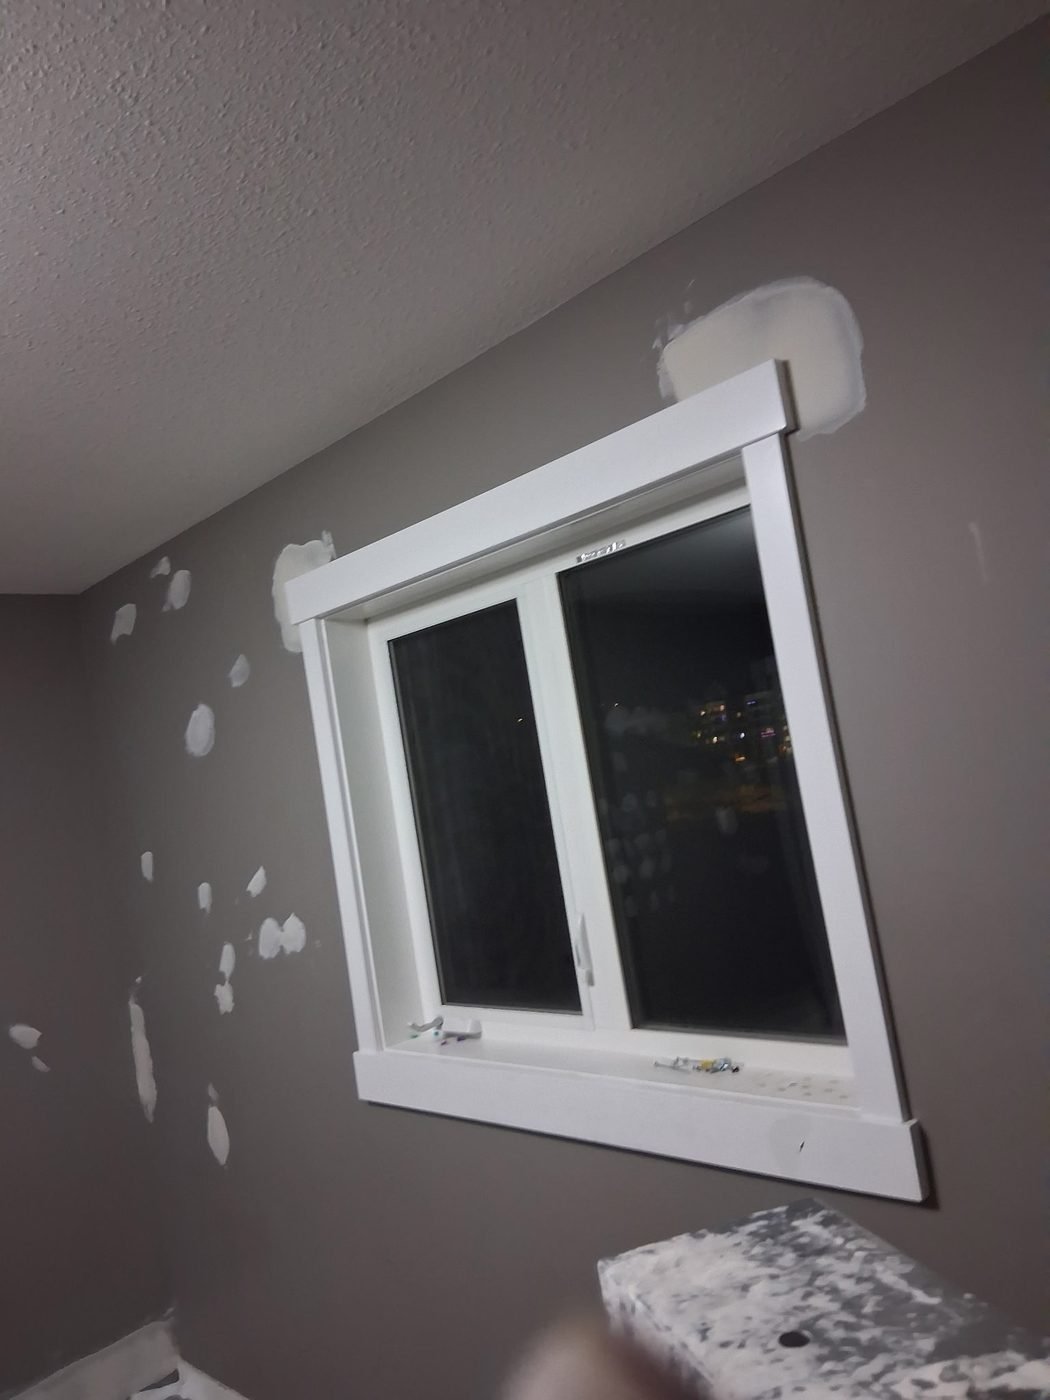
Bedroom wall filled around a window with white trim
Made good around trim Filling worked in tight to window casing and baseboard.
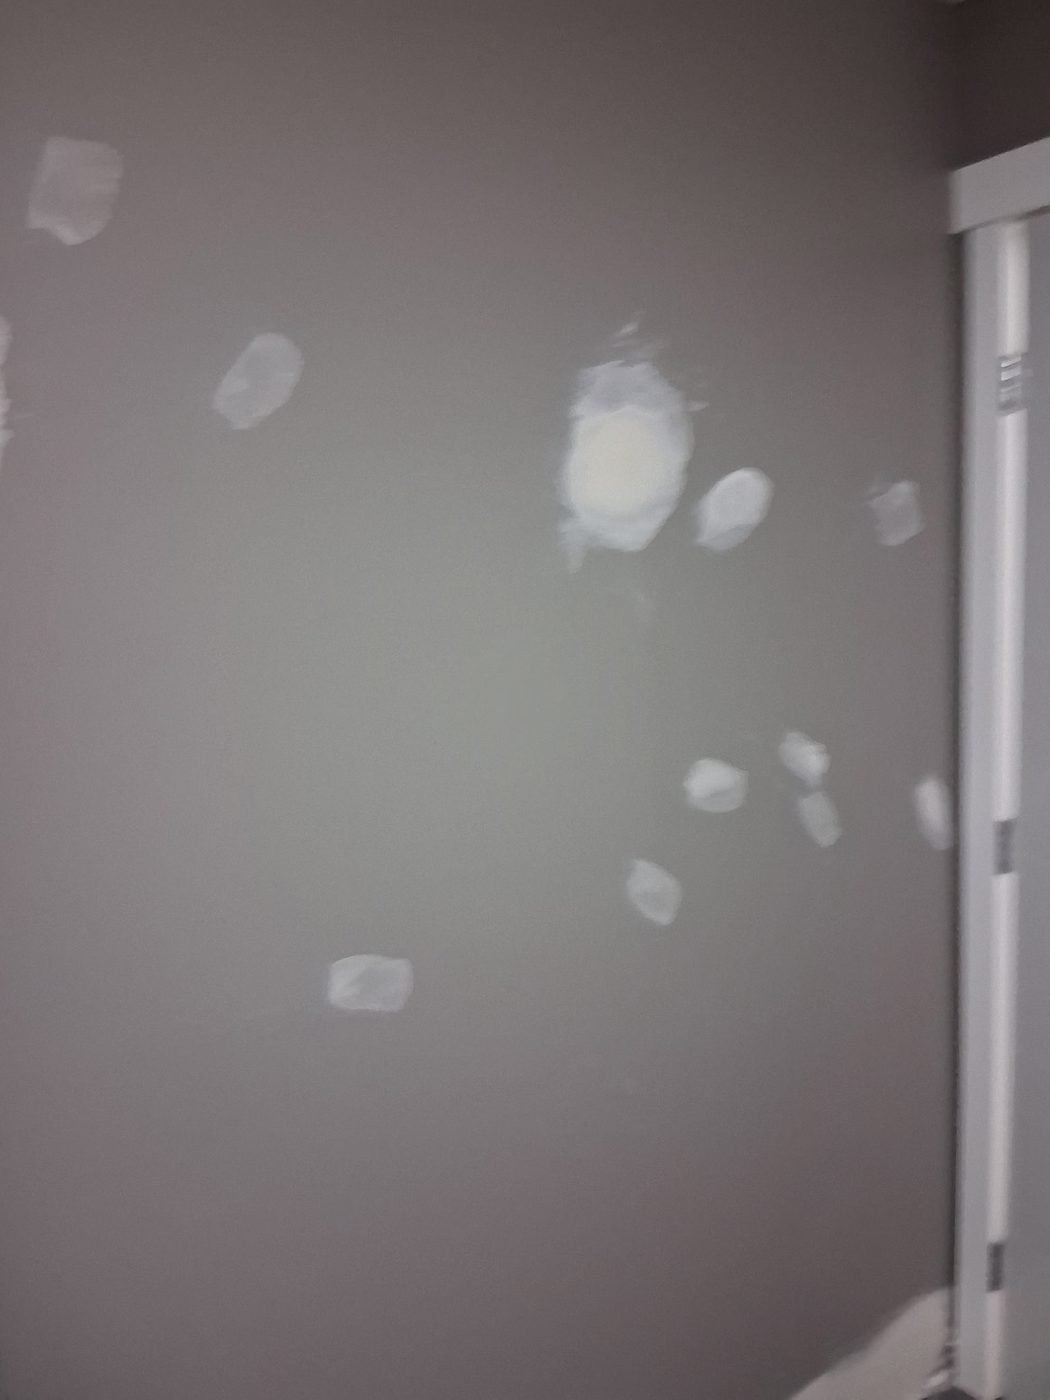
Bedroom wall filled in many places before sanding and painting
Whole-room make-good Walls filled throughout before sanding, so the finish coat goes on to a flat surface.
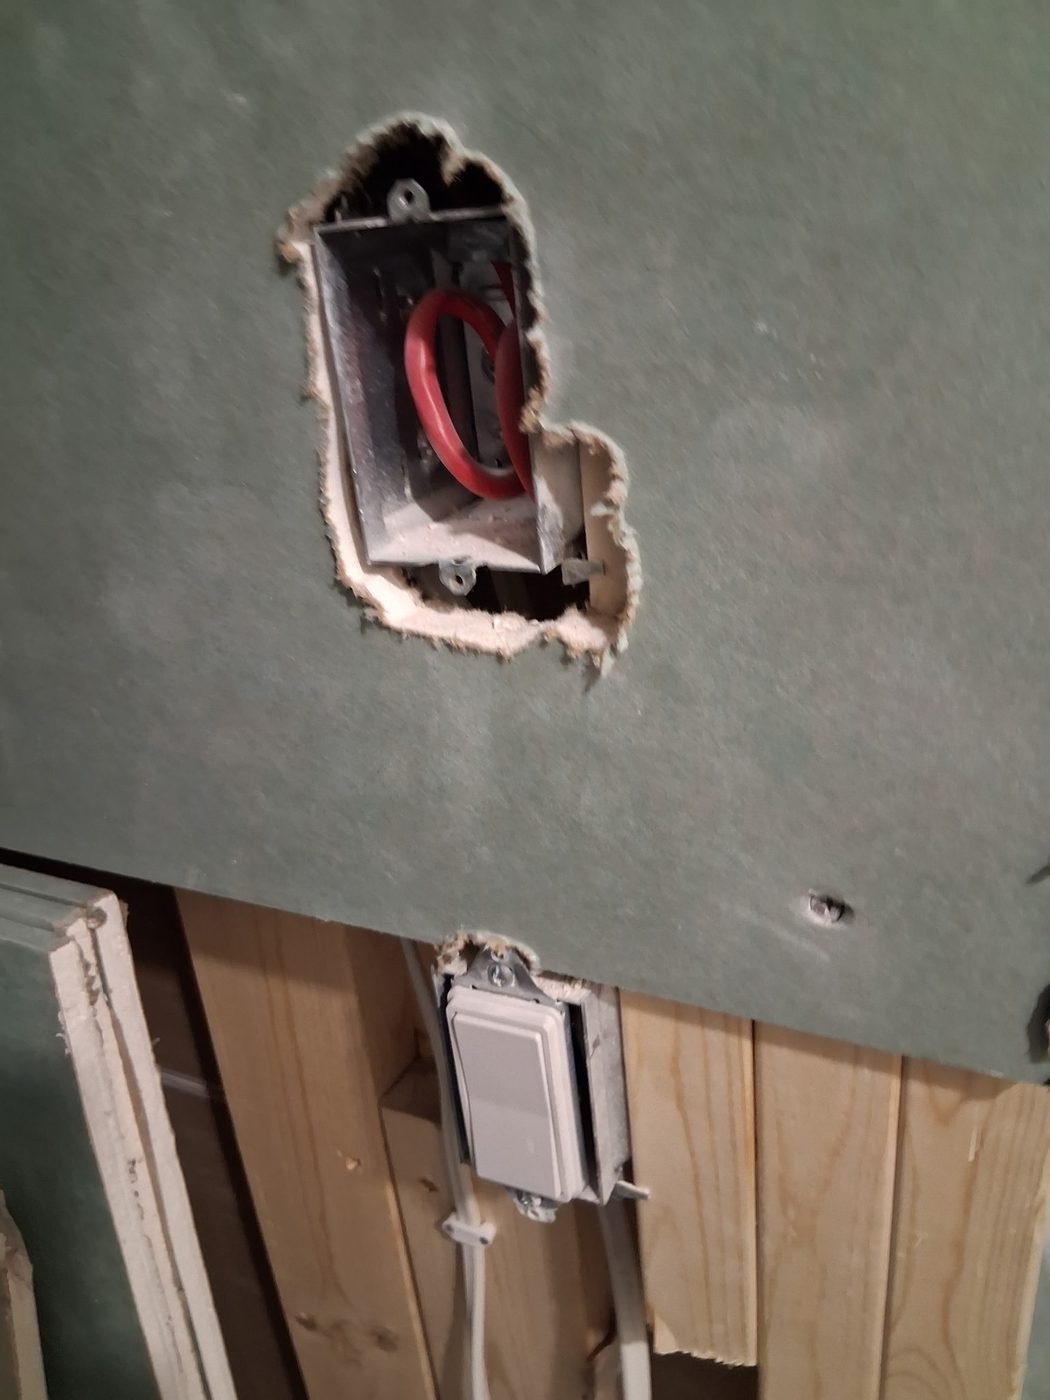
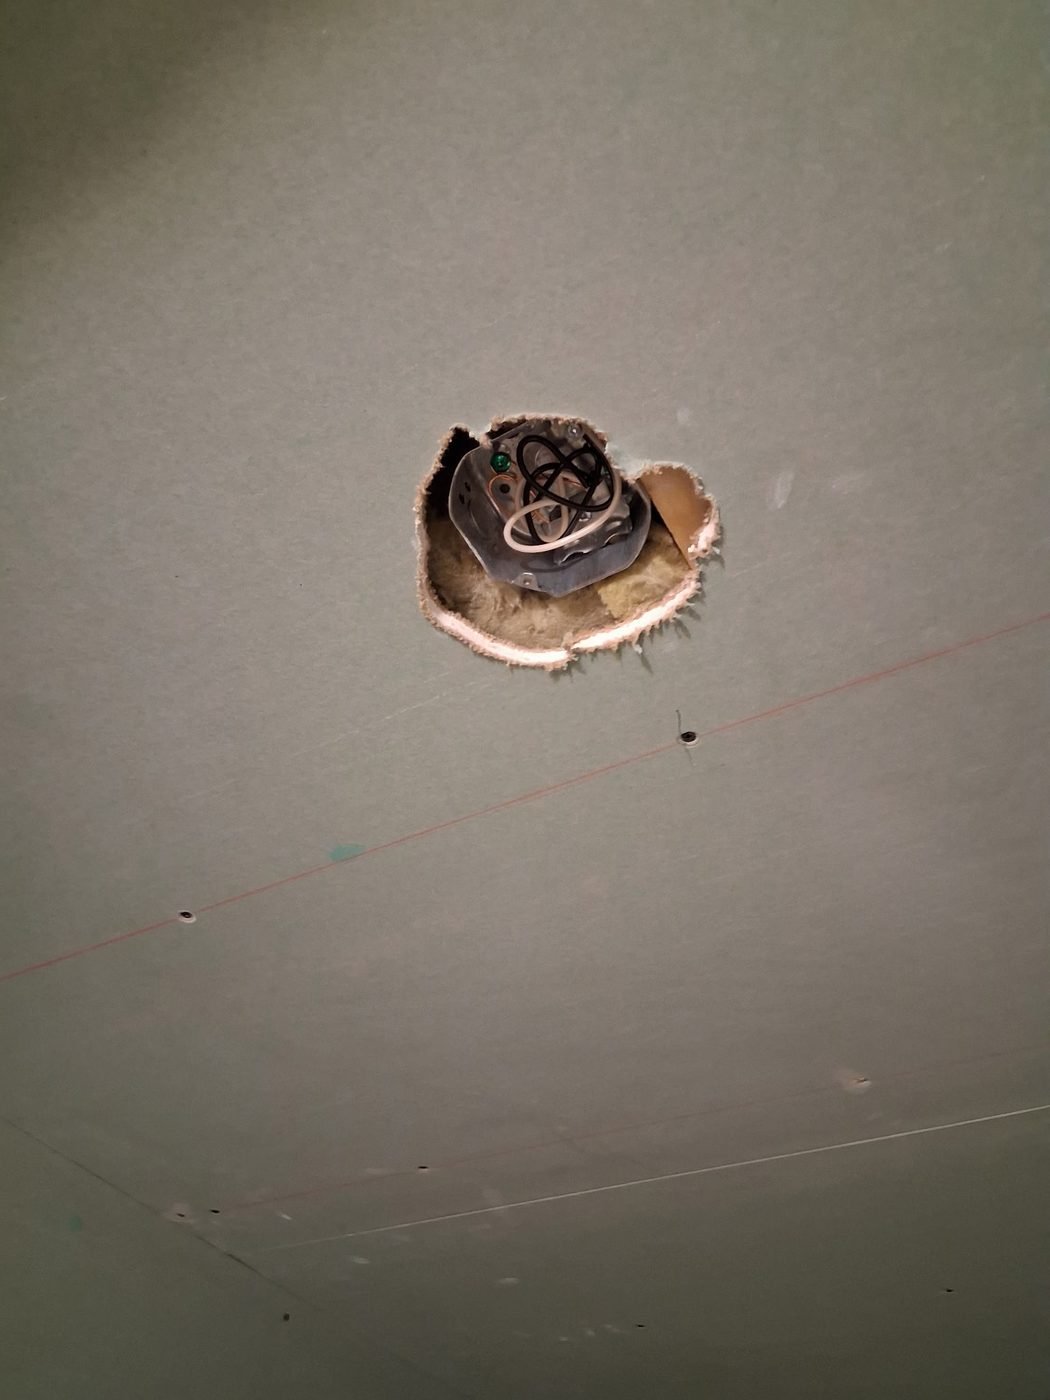
Moisture-resistant green drywall cut around an electrical box
Moisture-resistant board Green board cut around electrical boxes in a wet area before finishing.
A ceiling opening cut around an electrical junction box
Ceiling fixture openings Openings cut clean to the box so the fixture trim covers the edge properly.
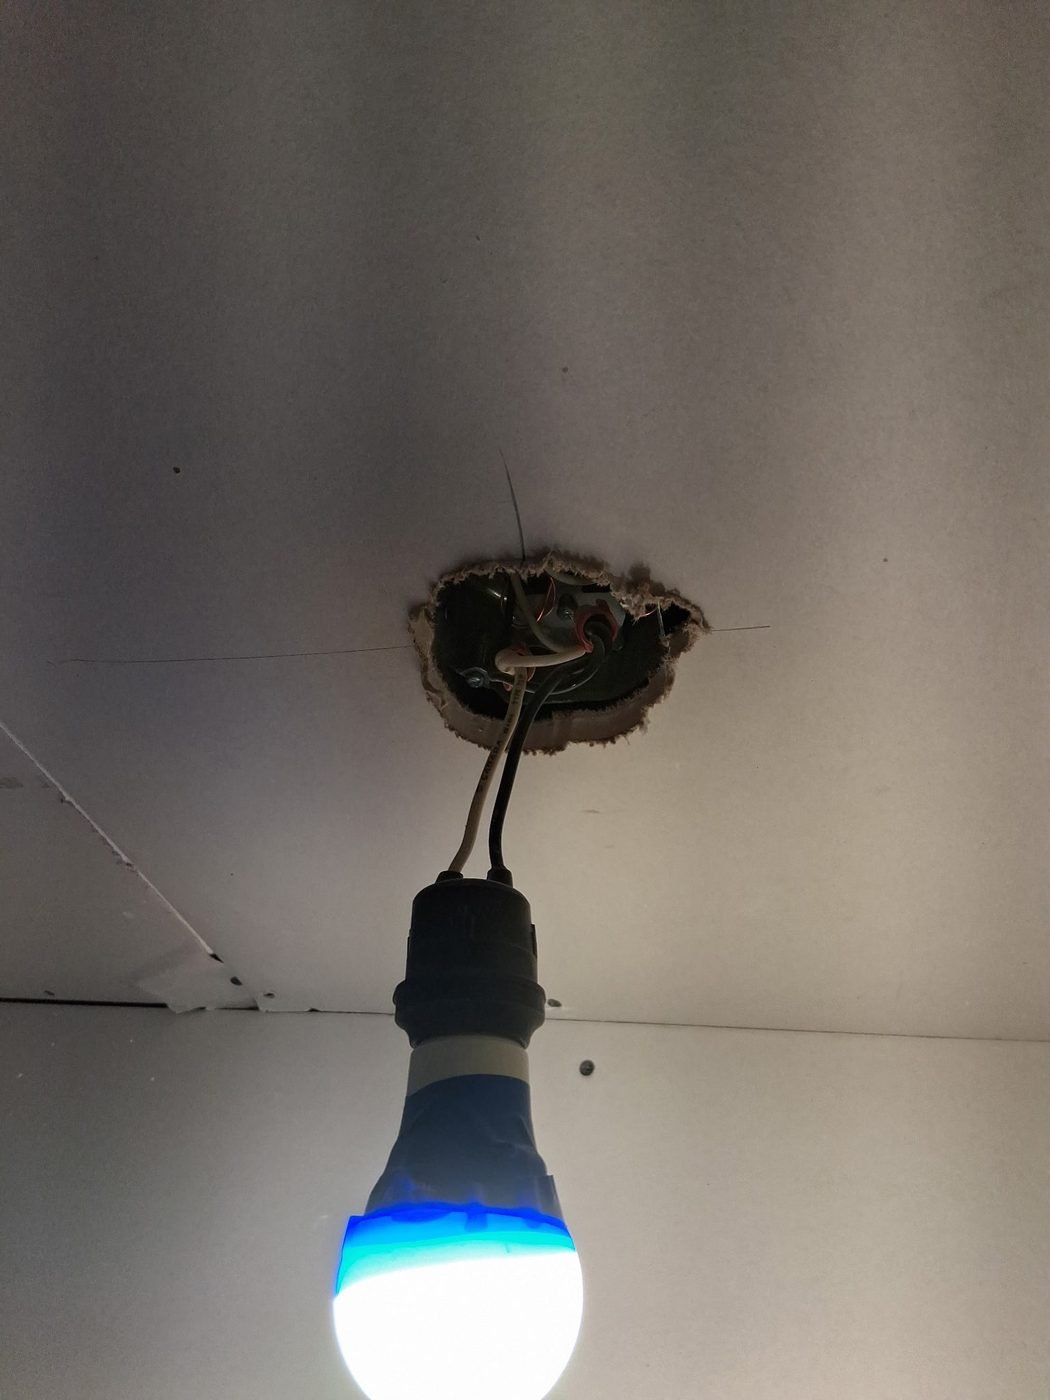
A temporary light bulb hanging from a ceiling electrical box
Working light in place Temporary lighting rigged so finishing continues before fixtures are hung.

Commercial fit-outs

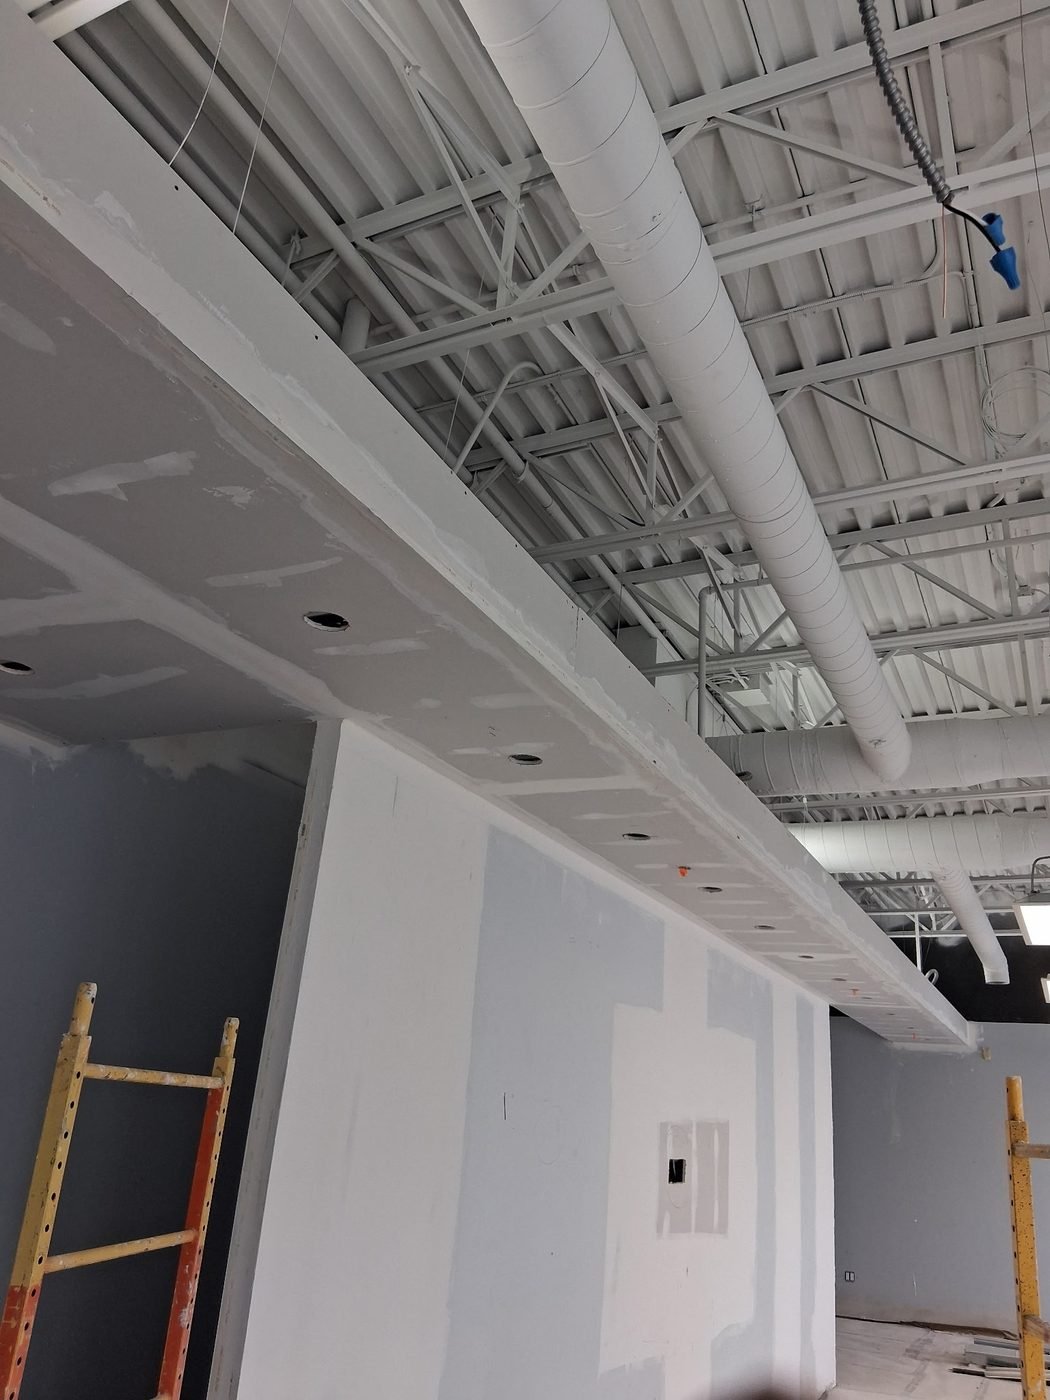
Steel-stud framing, bulkheads and ceilings in commercial space, built around mechanical services and an opening date.
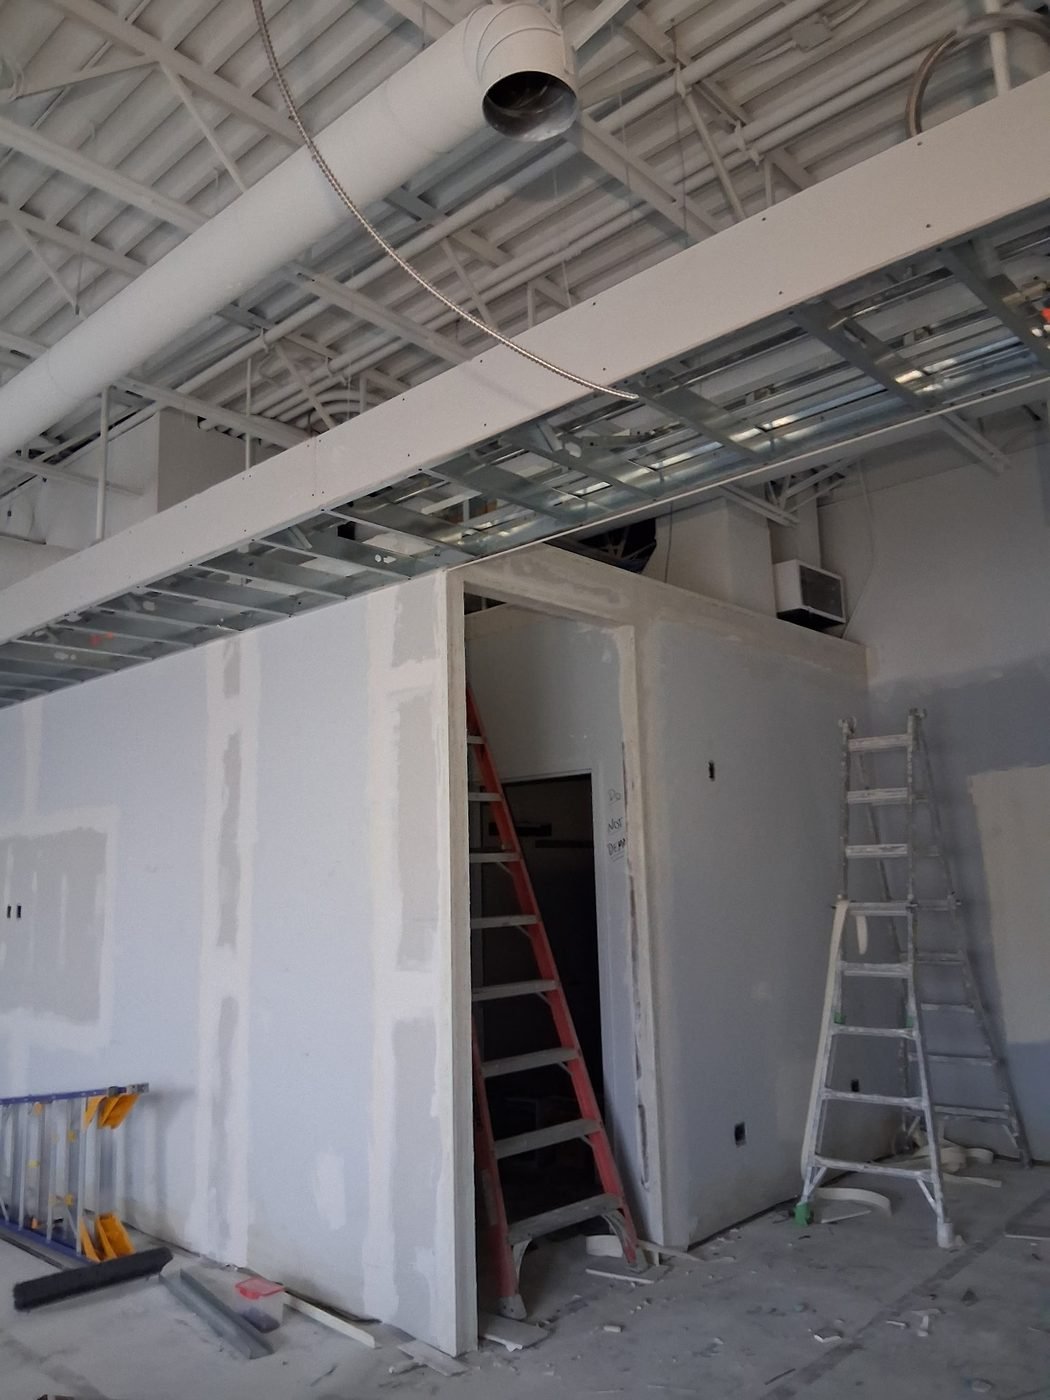
Steel stud bulkhead framing and drywall partitions in a commercial unit
Steel stud framing and bulkheads Suspended bulkhead framing run out around ductwork in an open commercial space.
A long boarded and taped commercial bulkhead with pot light openings
Boarded and taped bulkhead Long bulkhead boarded, taped and drilled for pot lights, with services above left accessible.
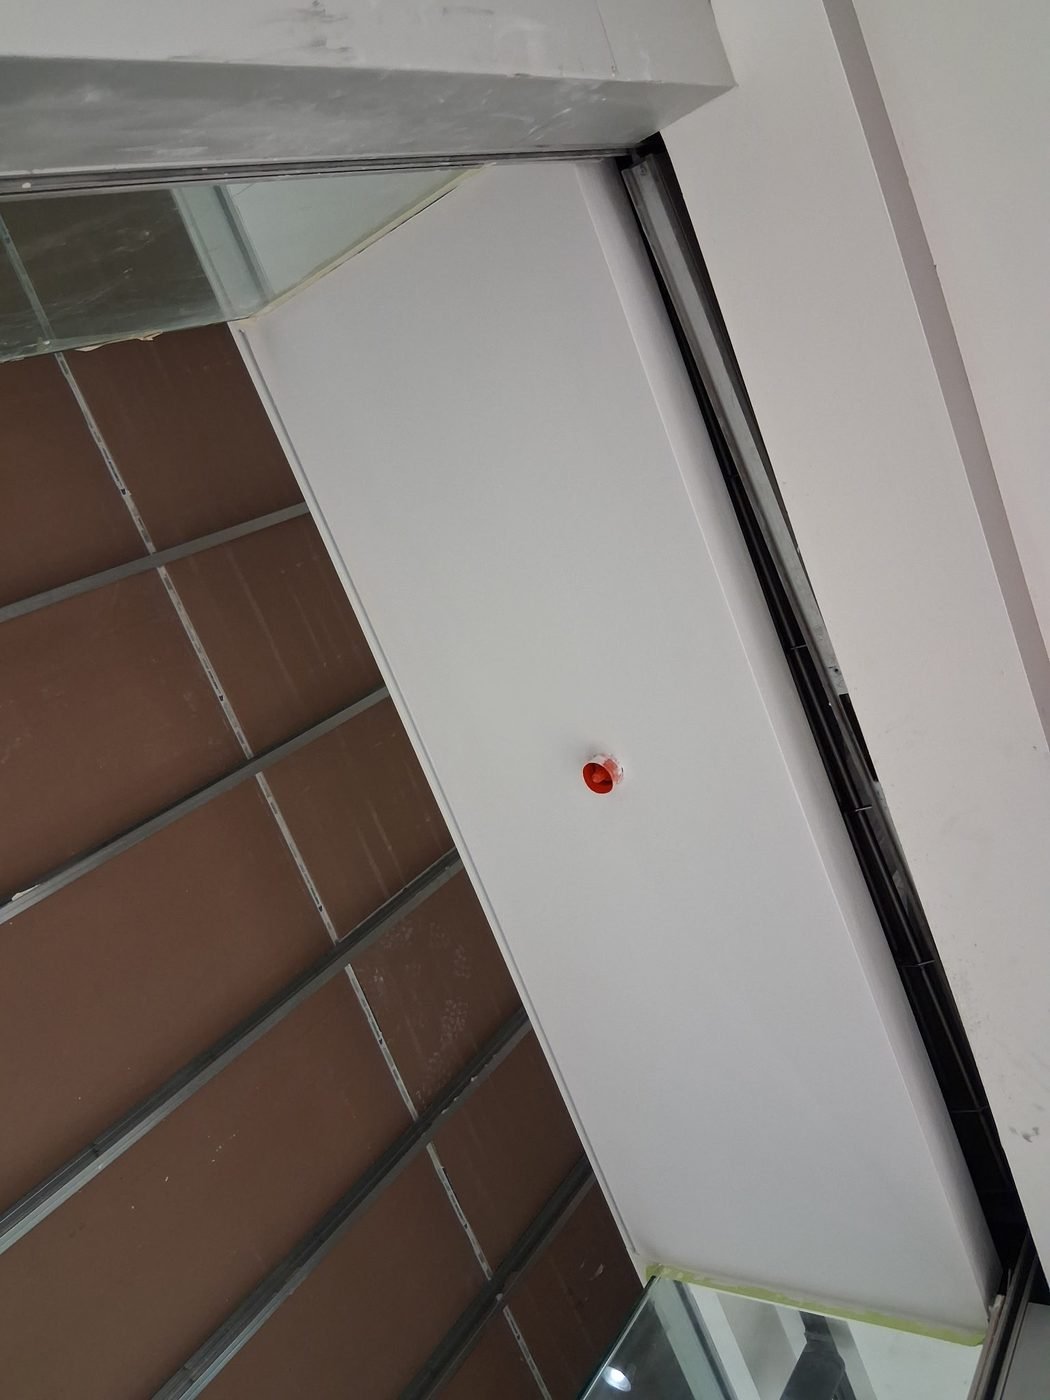
Commercial bulkhead detail finished against a suspended ceiling grid
Ceiling detail and grid Bulkhead returns finished tight to the ceiling grid.

Preparation and site protection

Masking and containment is the part of the job you are supposed to never notice. It is also the clearest signal of how a crew will treat the rest of your building.
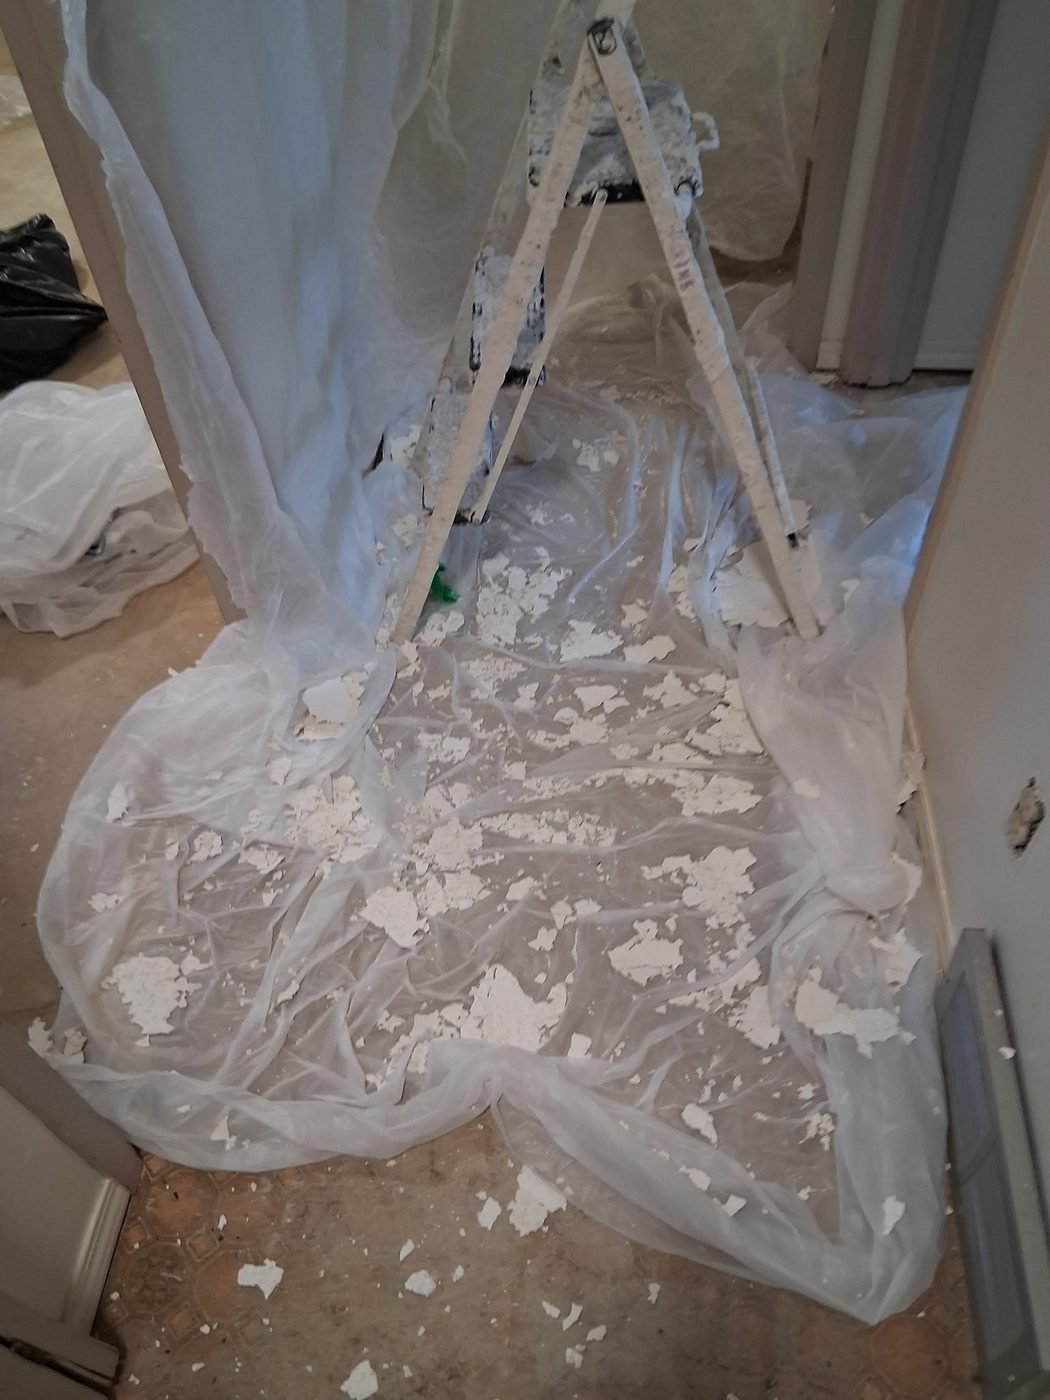
Plastic sheeting containment and floor protection during drywall sanding
Dust containment Poly sheeting hung and floors covered so sanding debris stays in one room.
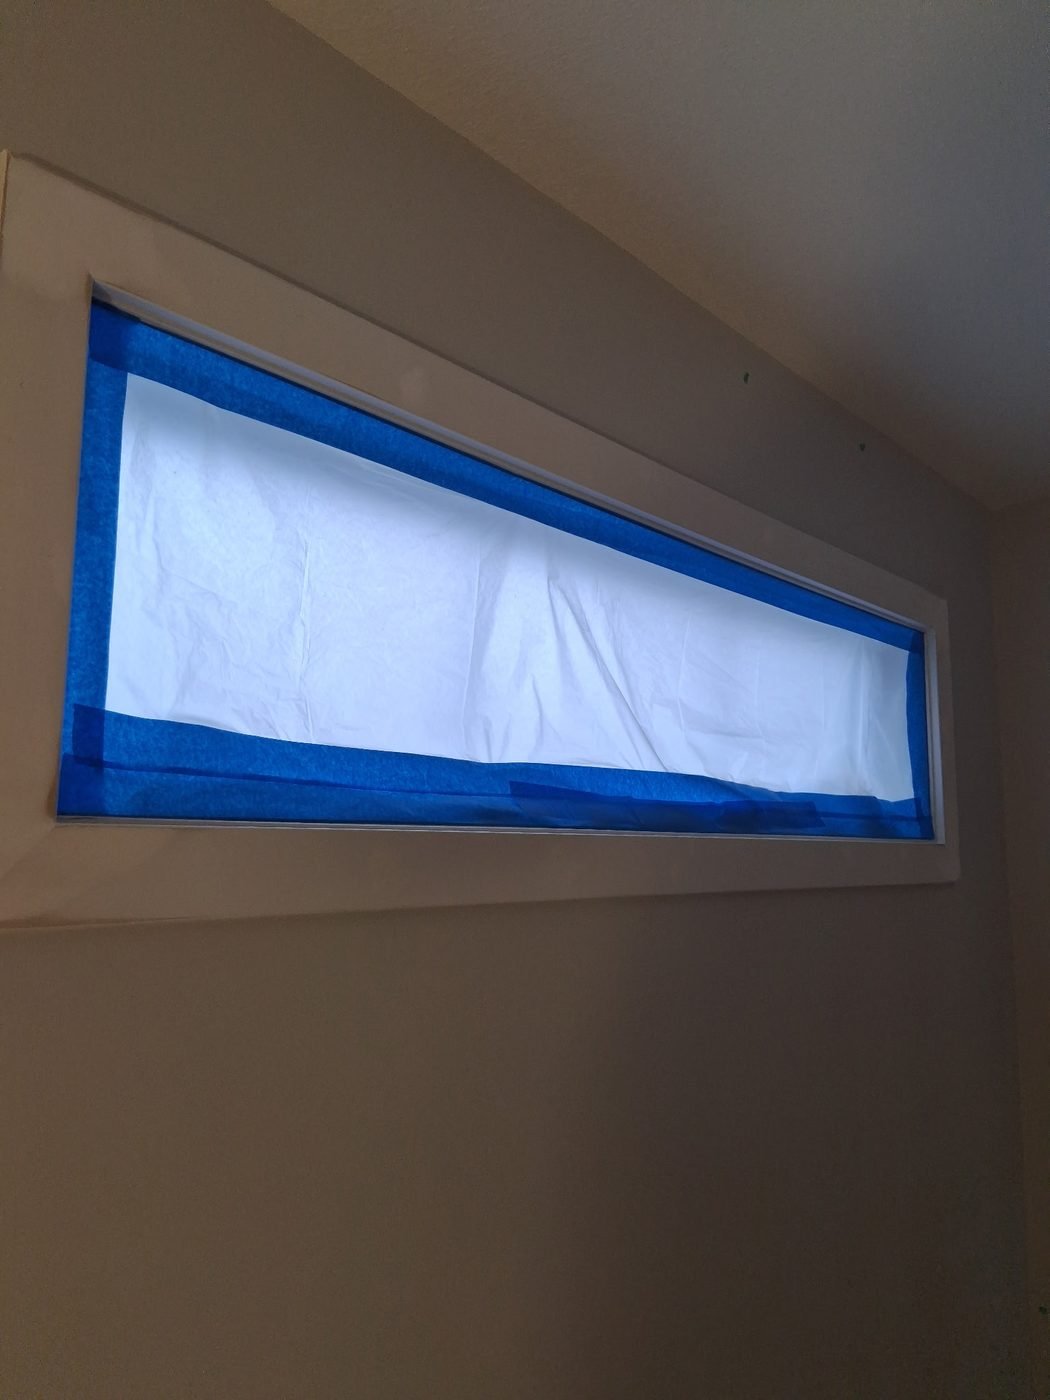
A long transom window fully masked with paper and blue tape
Transom window masked Glass papered and taped to the frame line before spraying.
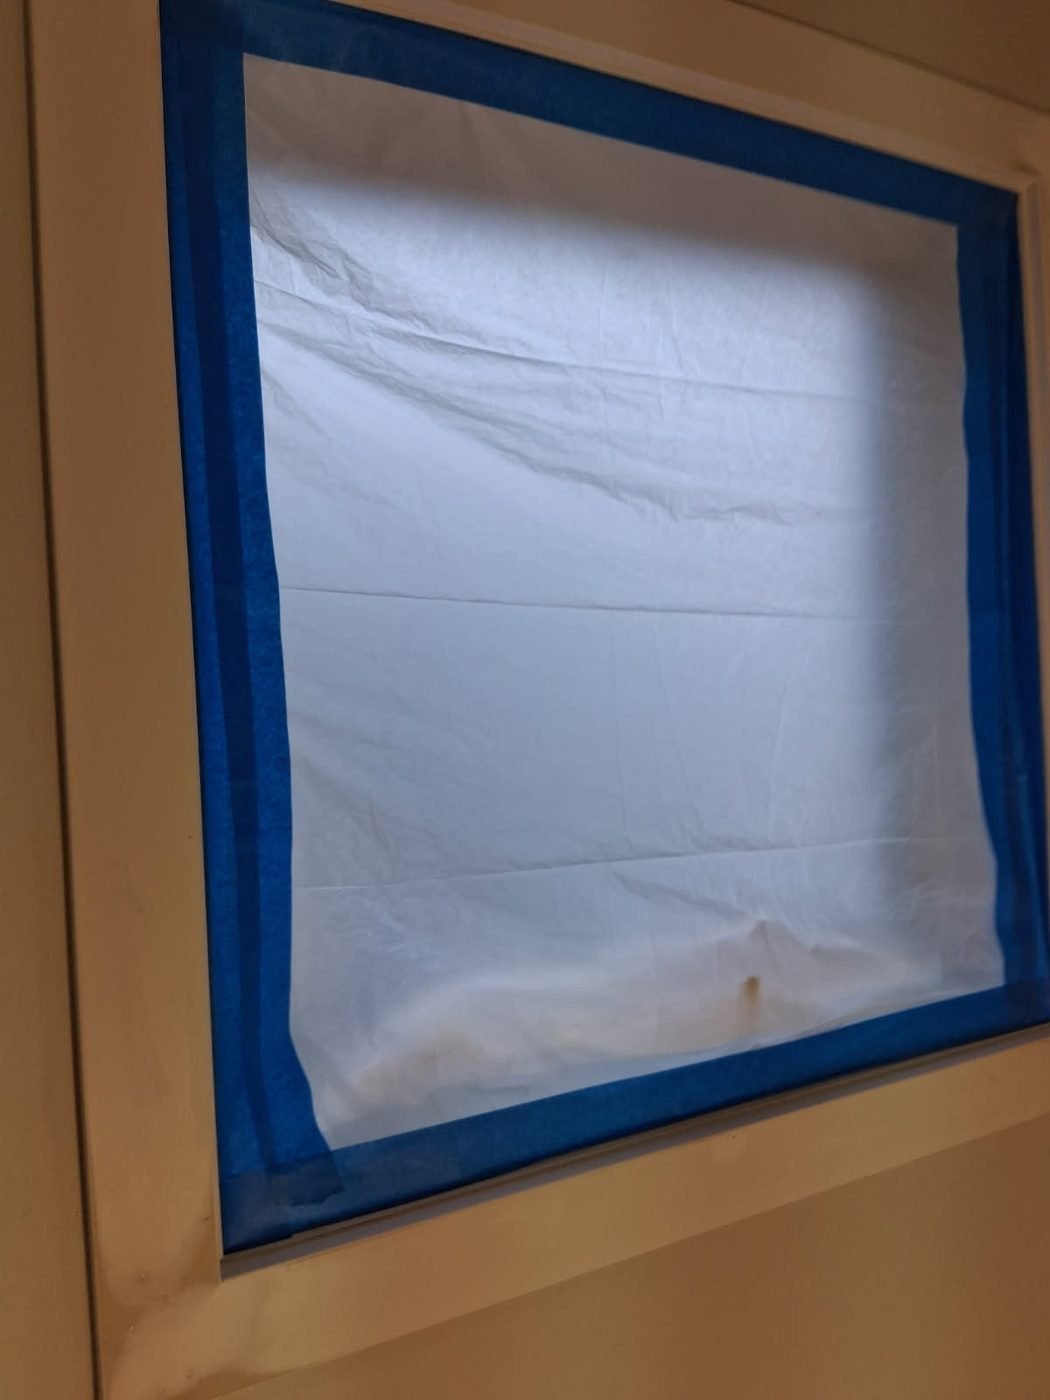
A window masked with paper and blue painters tape
Window sealed off Clean tape lines mean no scraping paint off the glass afterwards.

Finishing and carpentry

The last layer, and the part people touch.
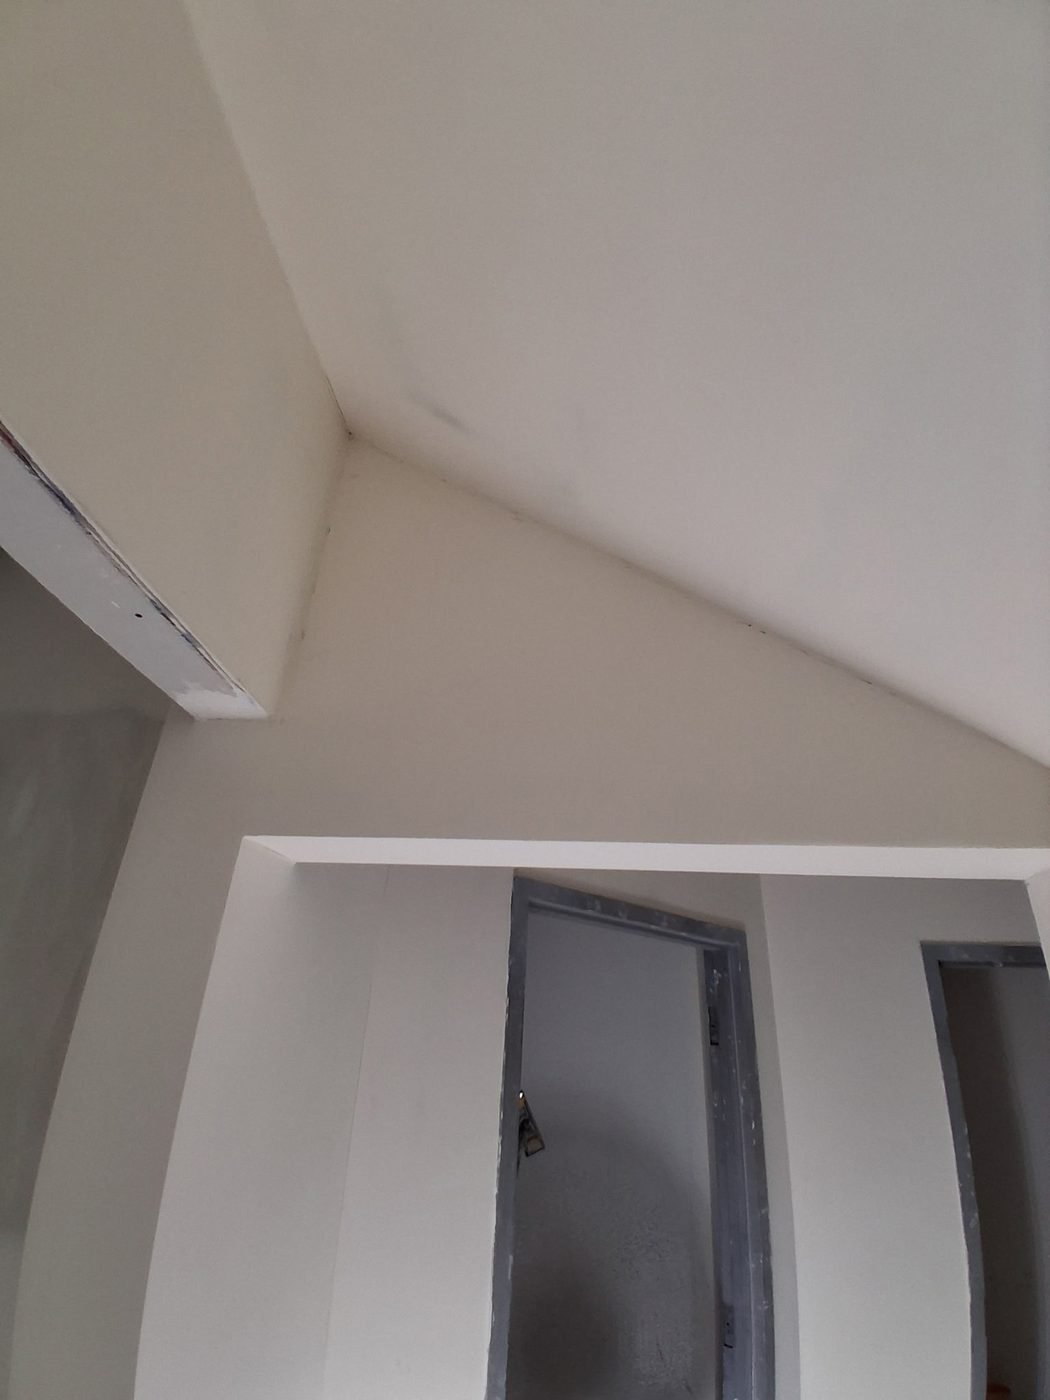
A finished and painted vaulted ceiling above framed door openings
Finished vaulted ceiling Vaulted ceiling and openings finished and painted out.
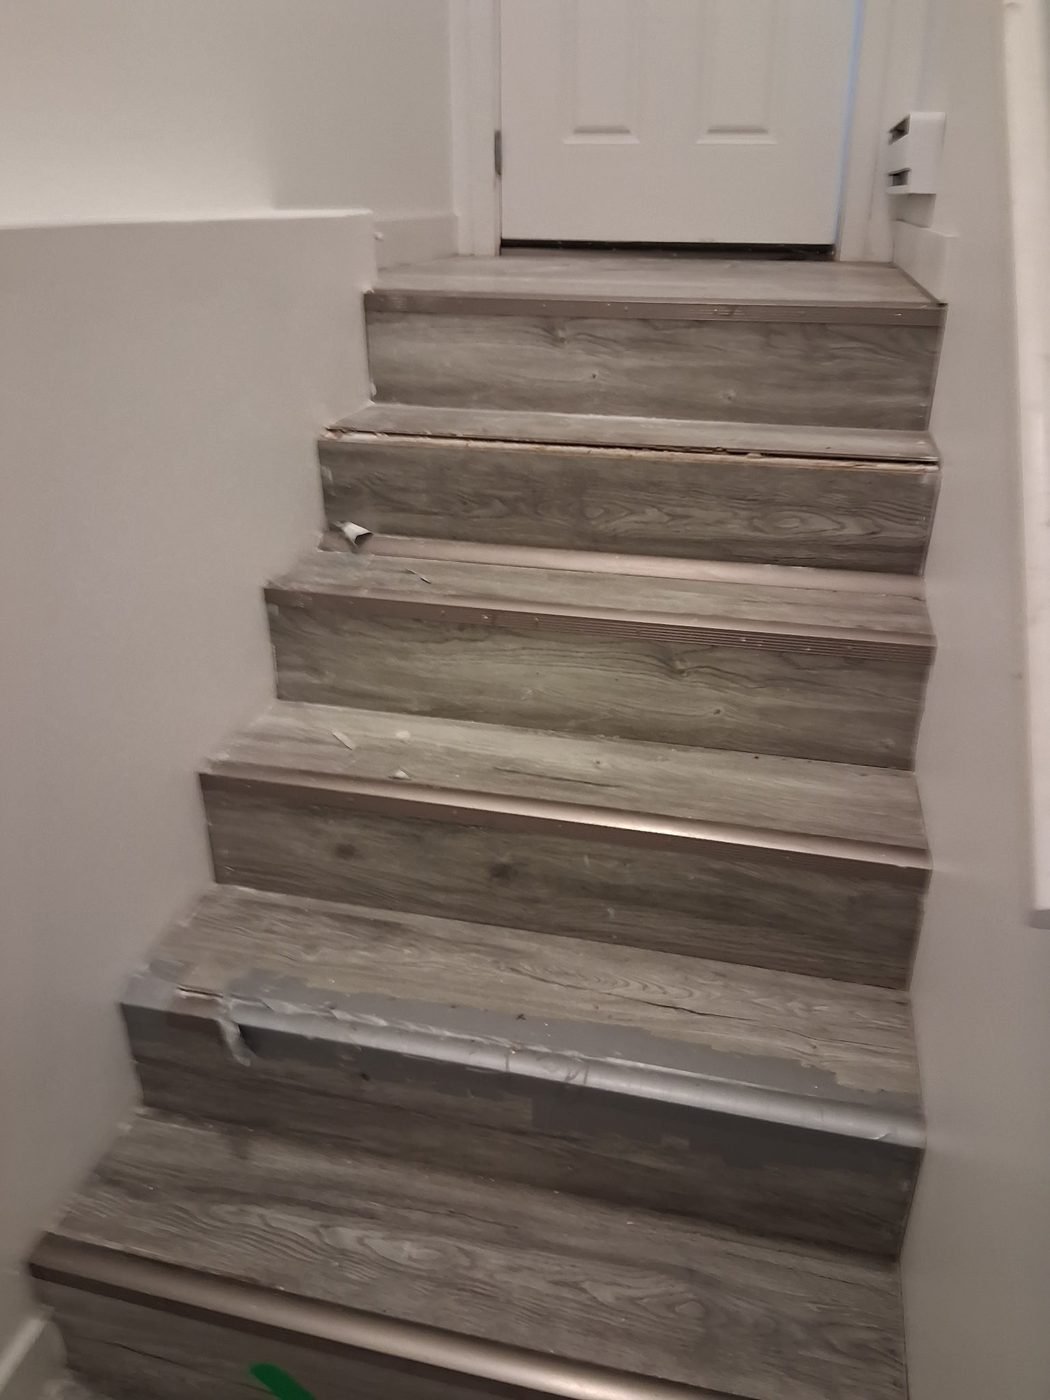
Staircase finished with grey vinyl plank treads and risers
Stair treads and risers Vinyl plank fitted to treads and risers with a matching nosing.
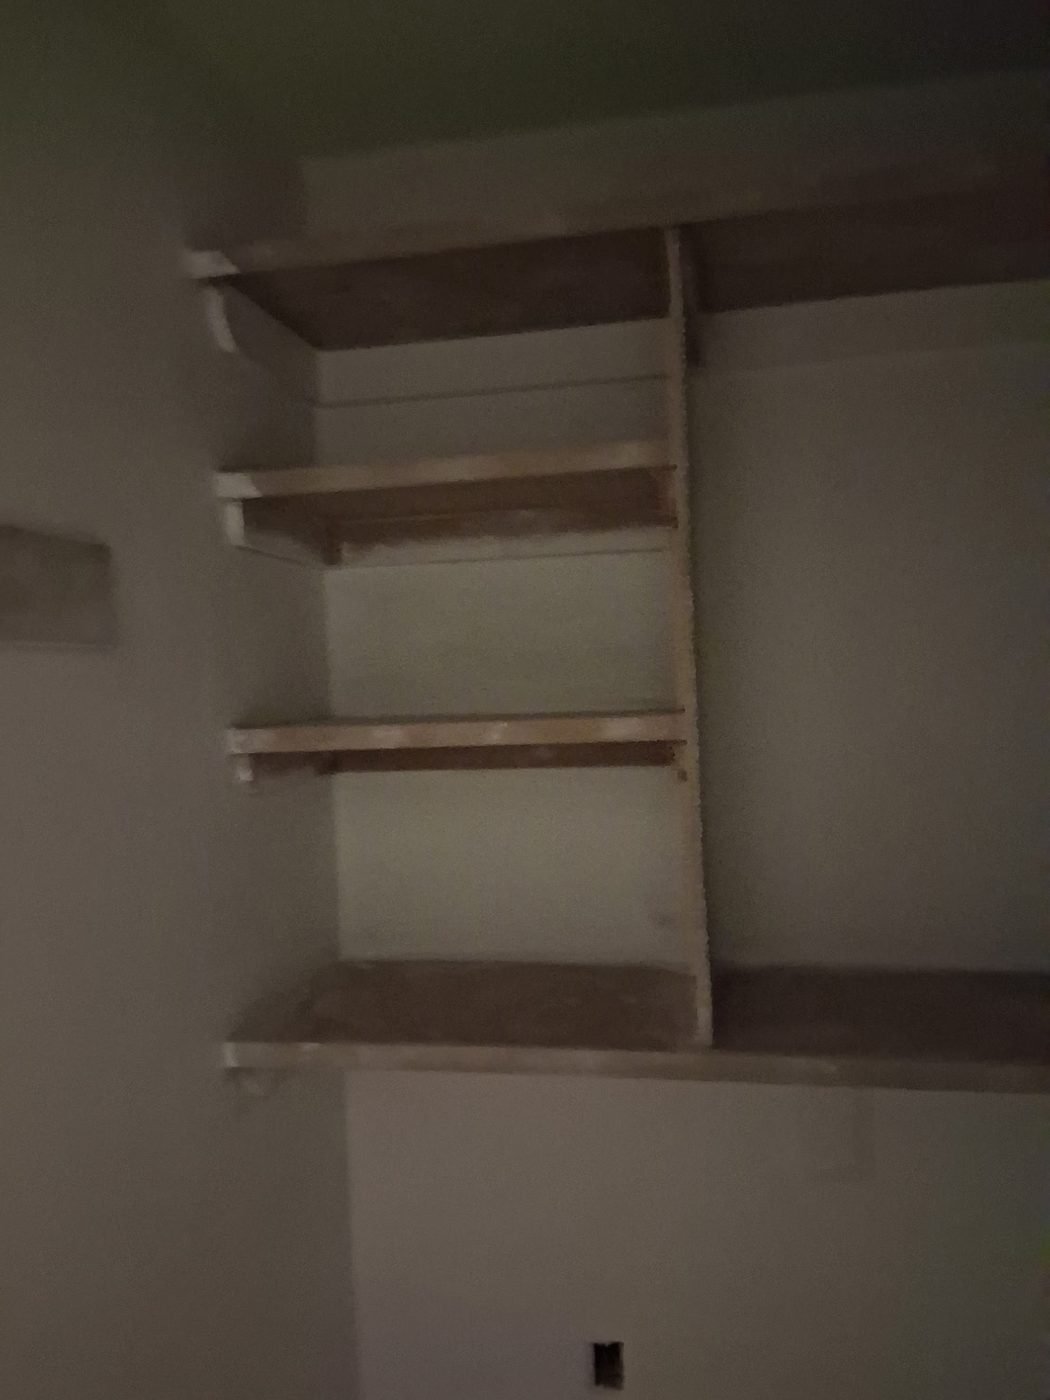
Fitted closet shelving and hanging rails
Closet shelving Shelving and hanging rails fitted out.

Something needs repairing?

Send us a photo of the damage and we will tell you what is involved and roughly what it costs, before anyone comes out.